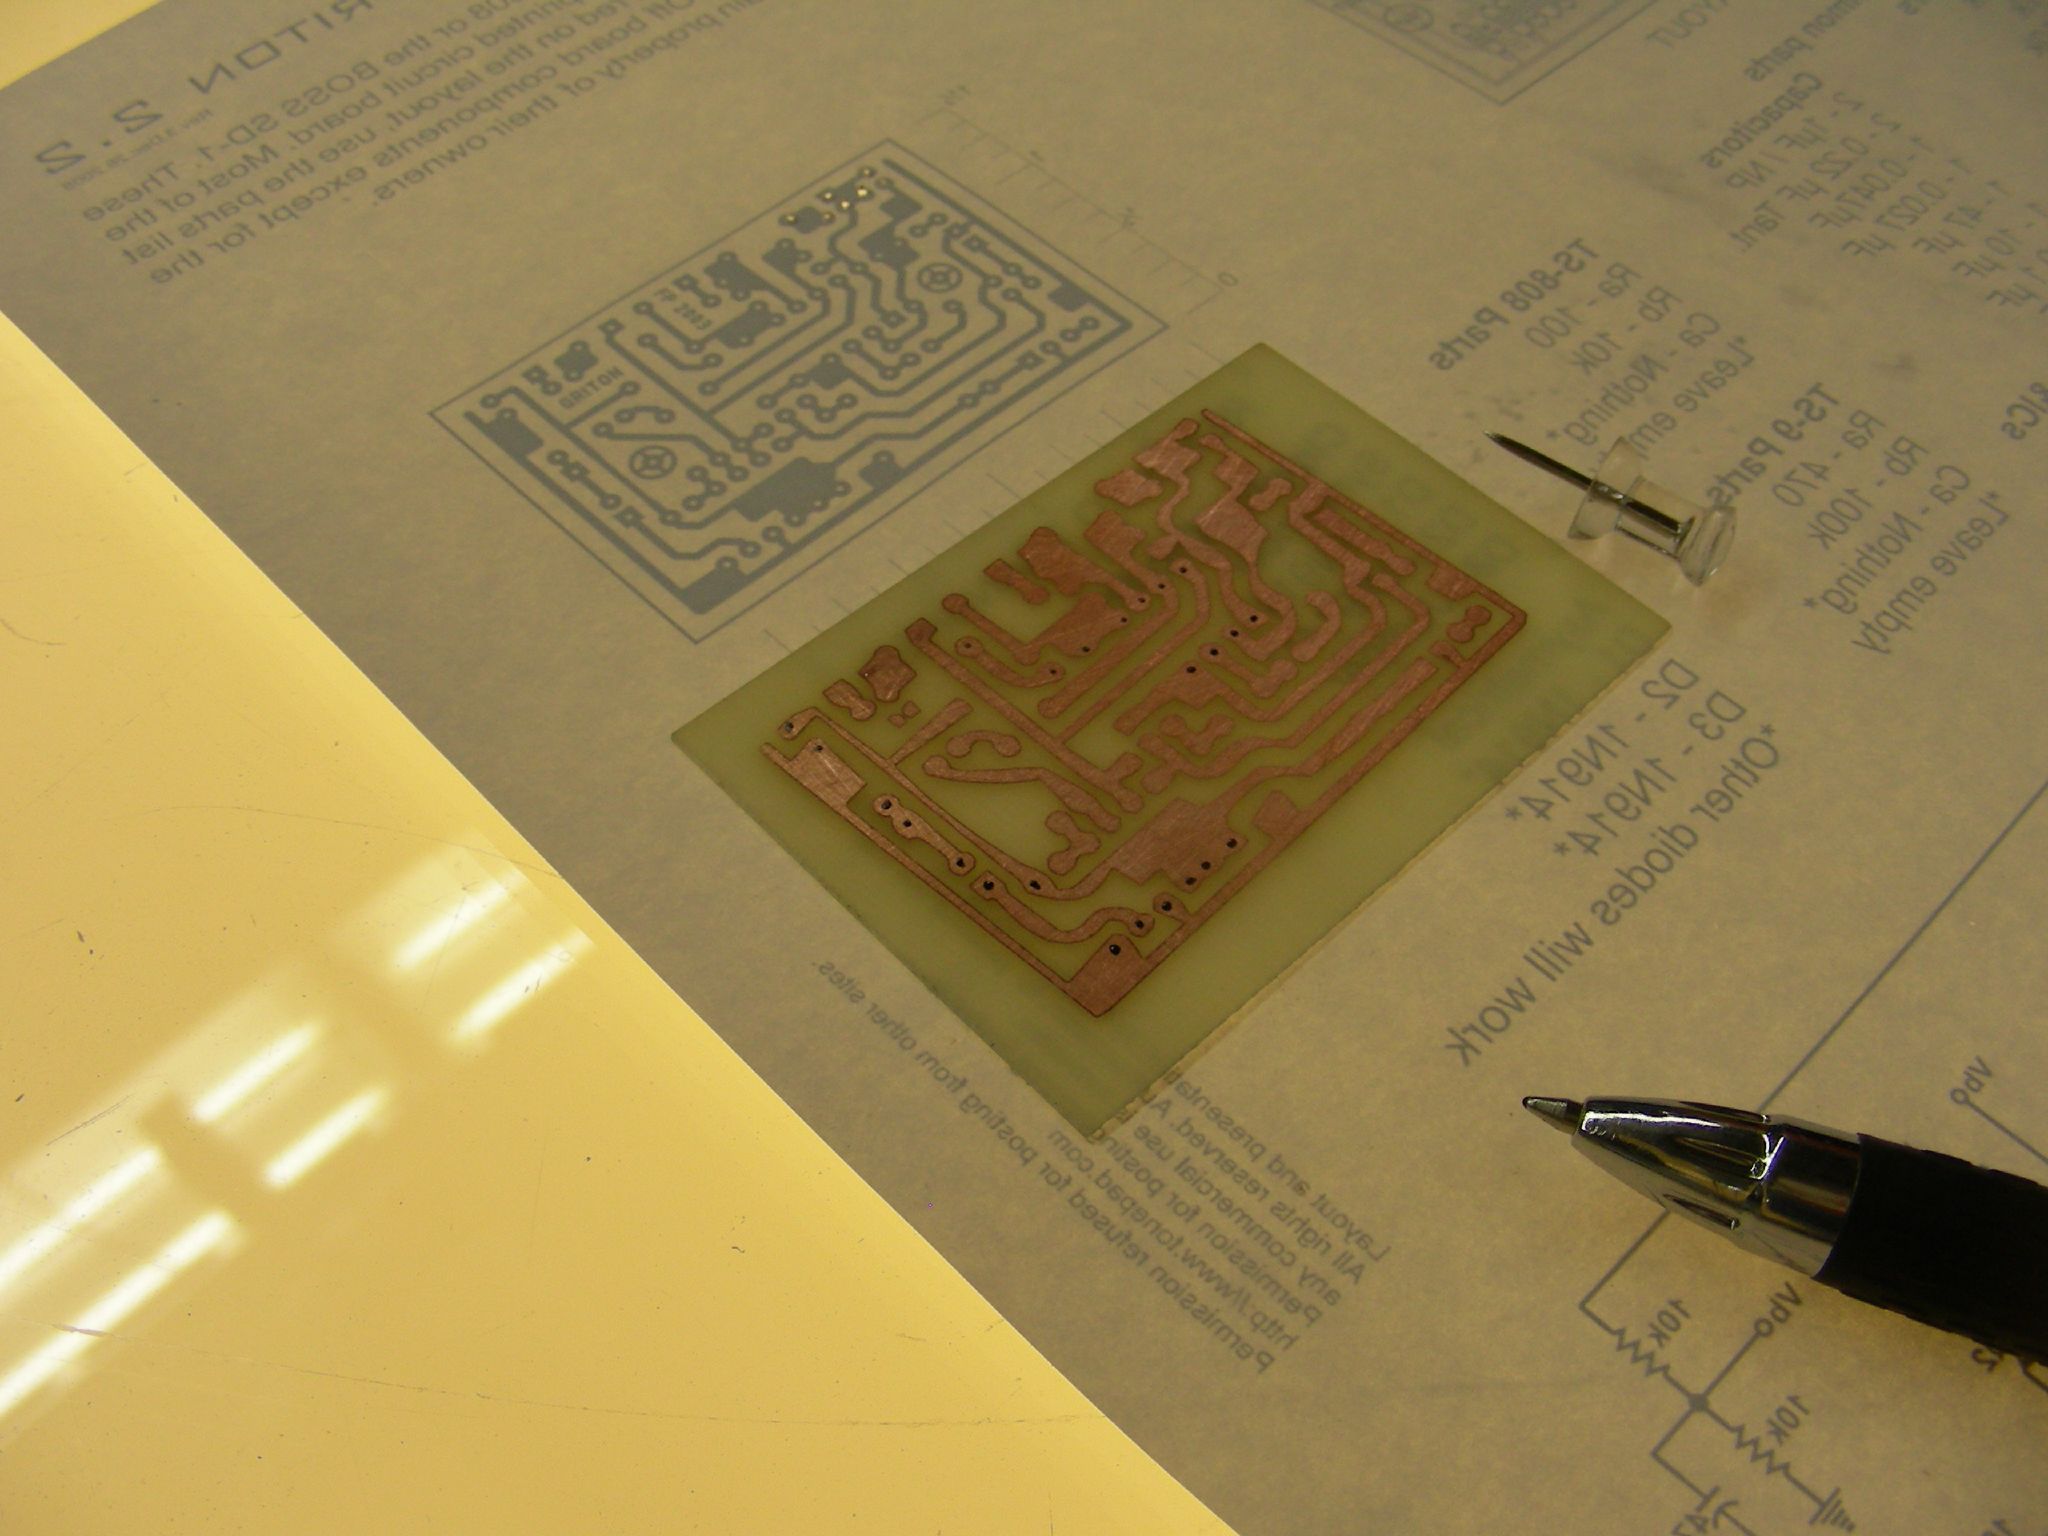
Here’s an easy technique to create a decent quality circuit board. You can design your own circuit traces, or you can find existing artwork of proven designs.

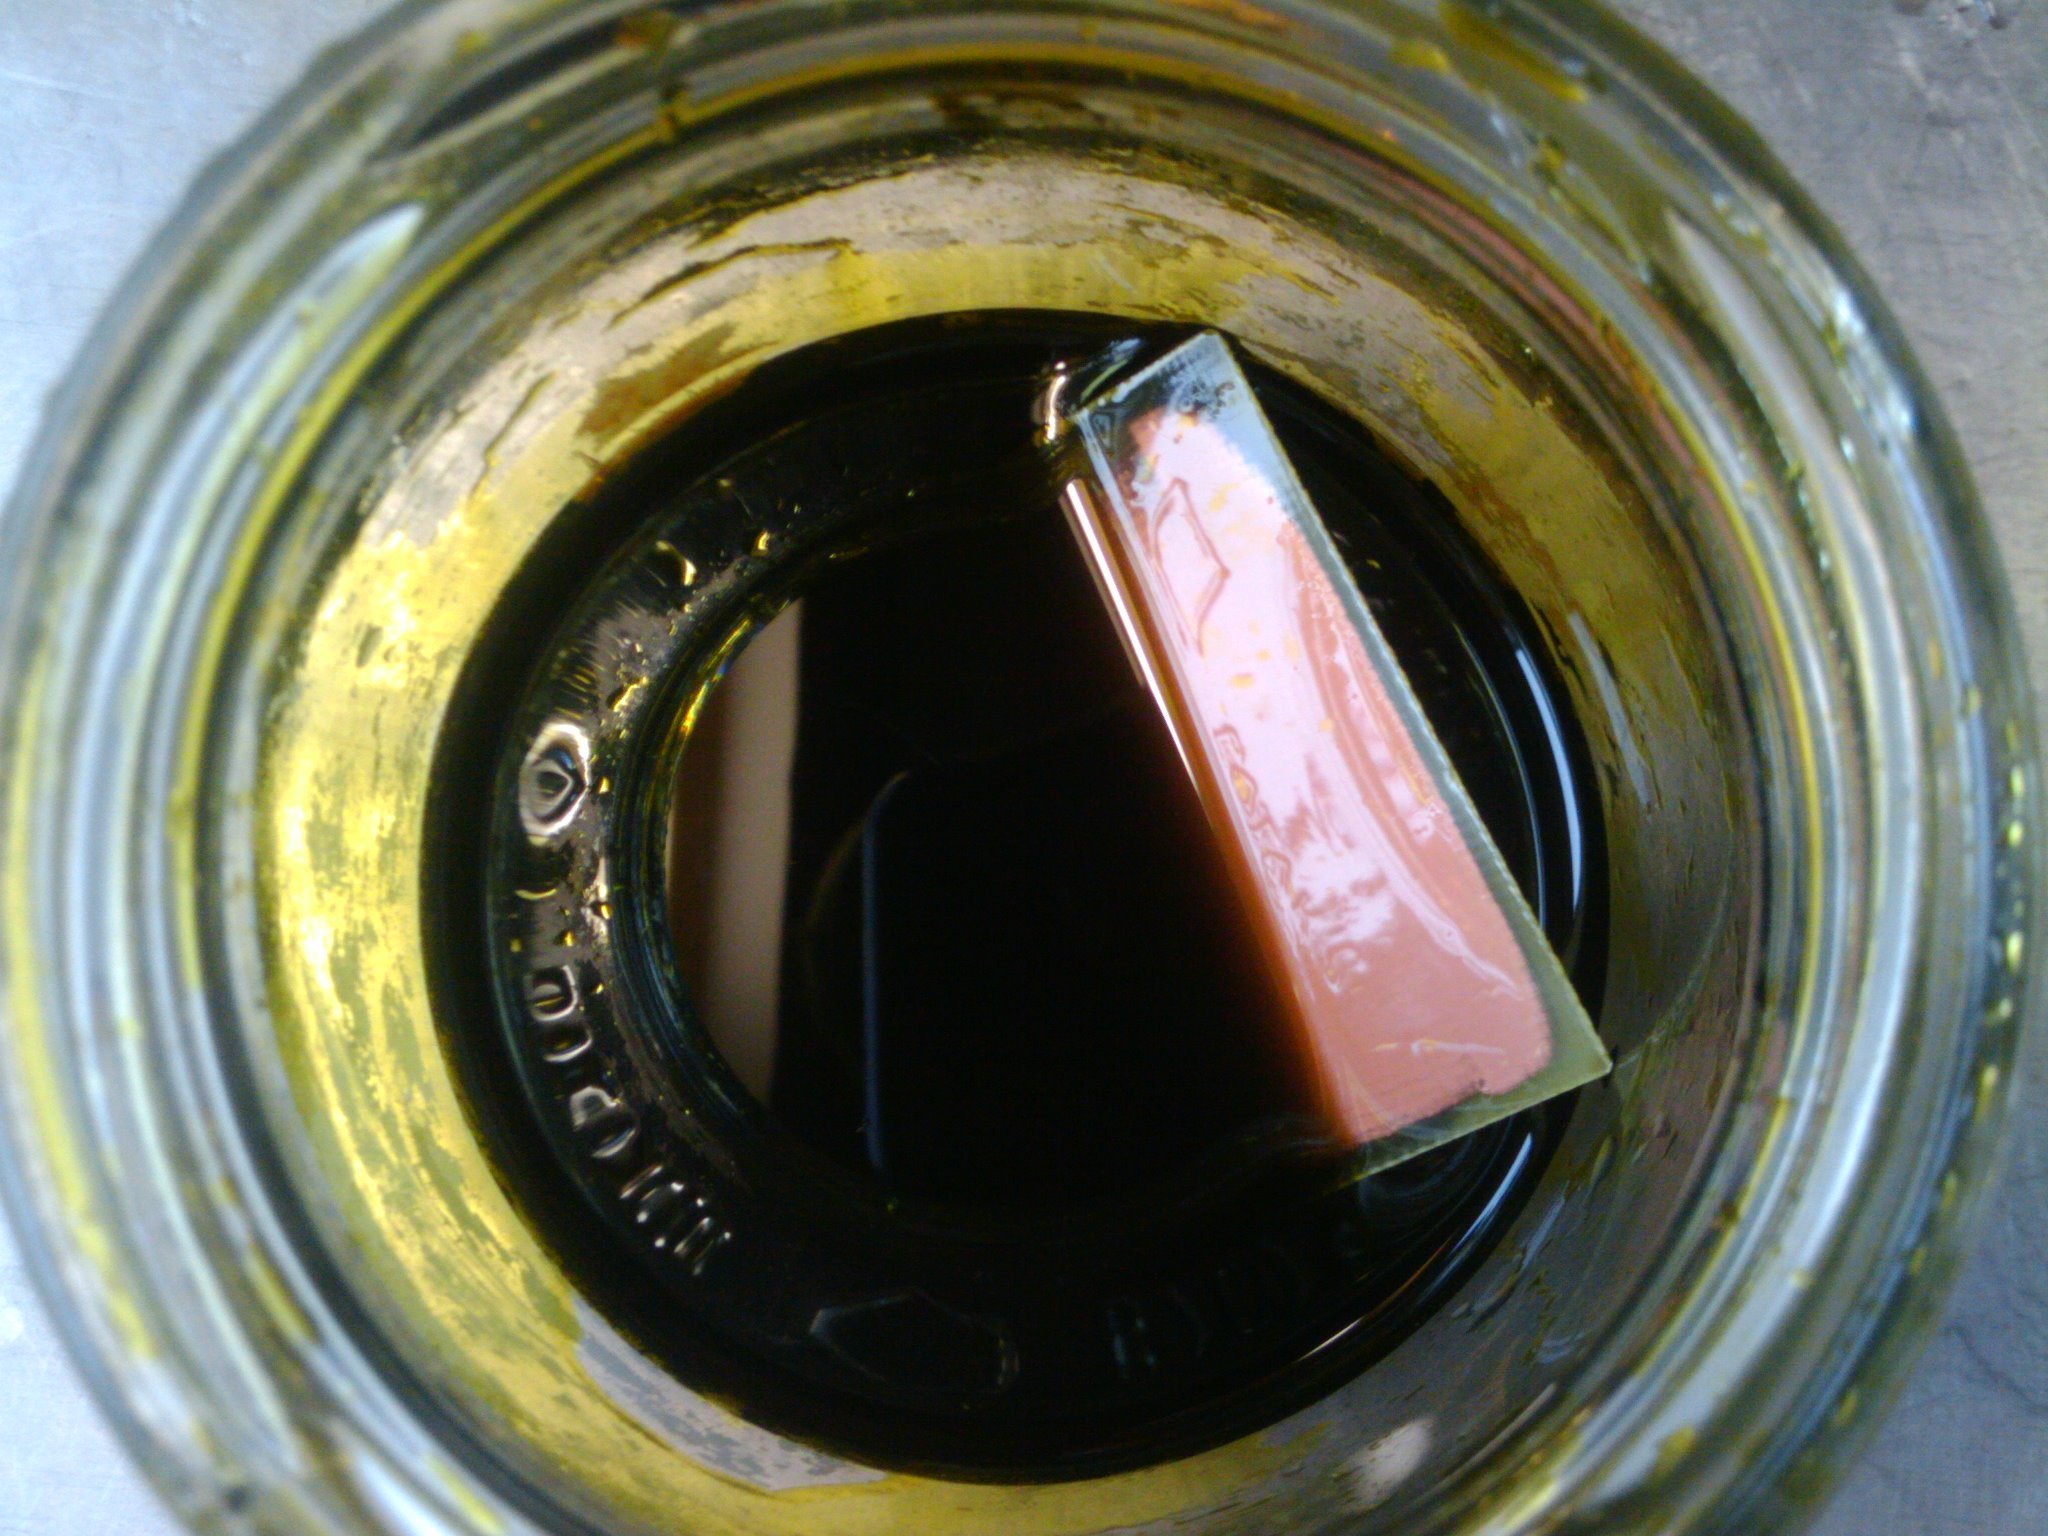
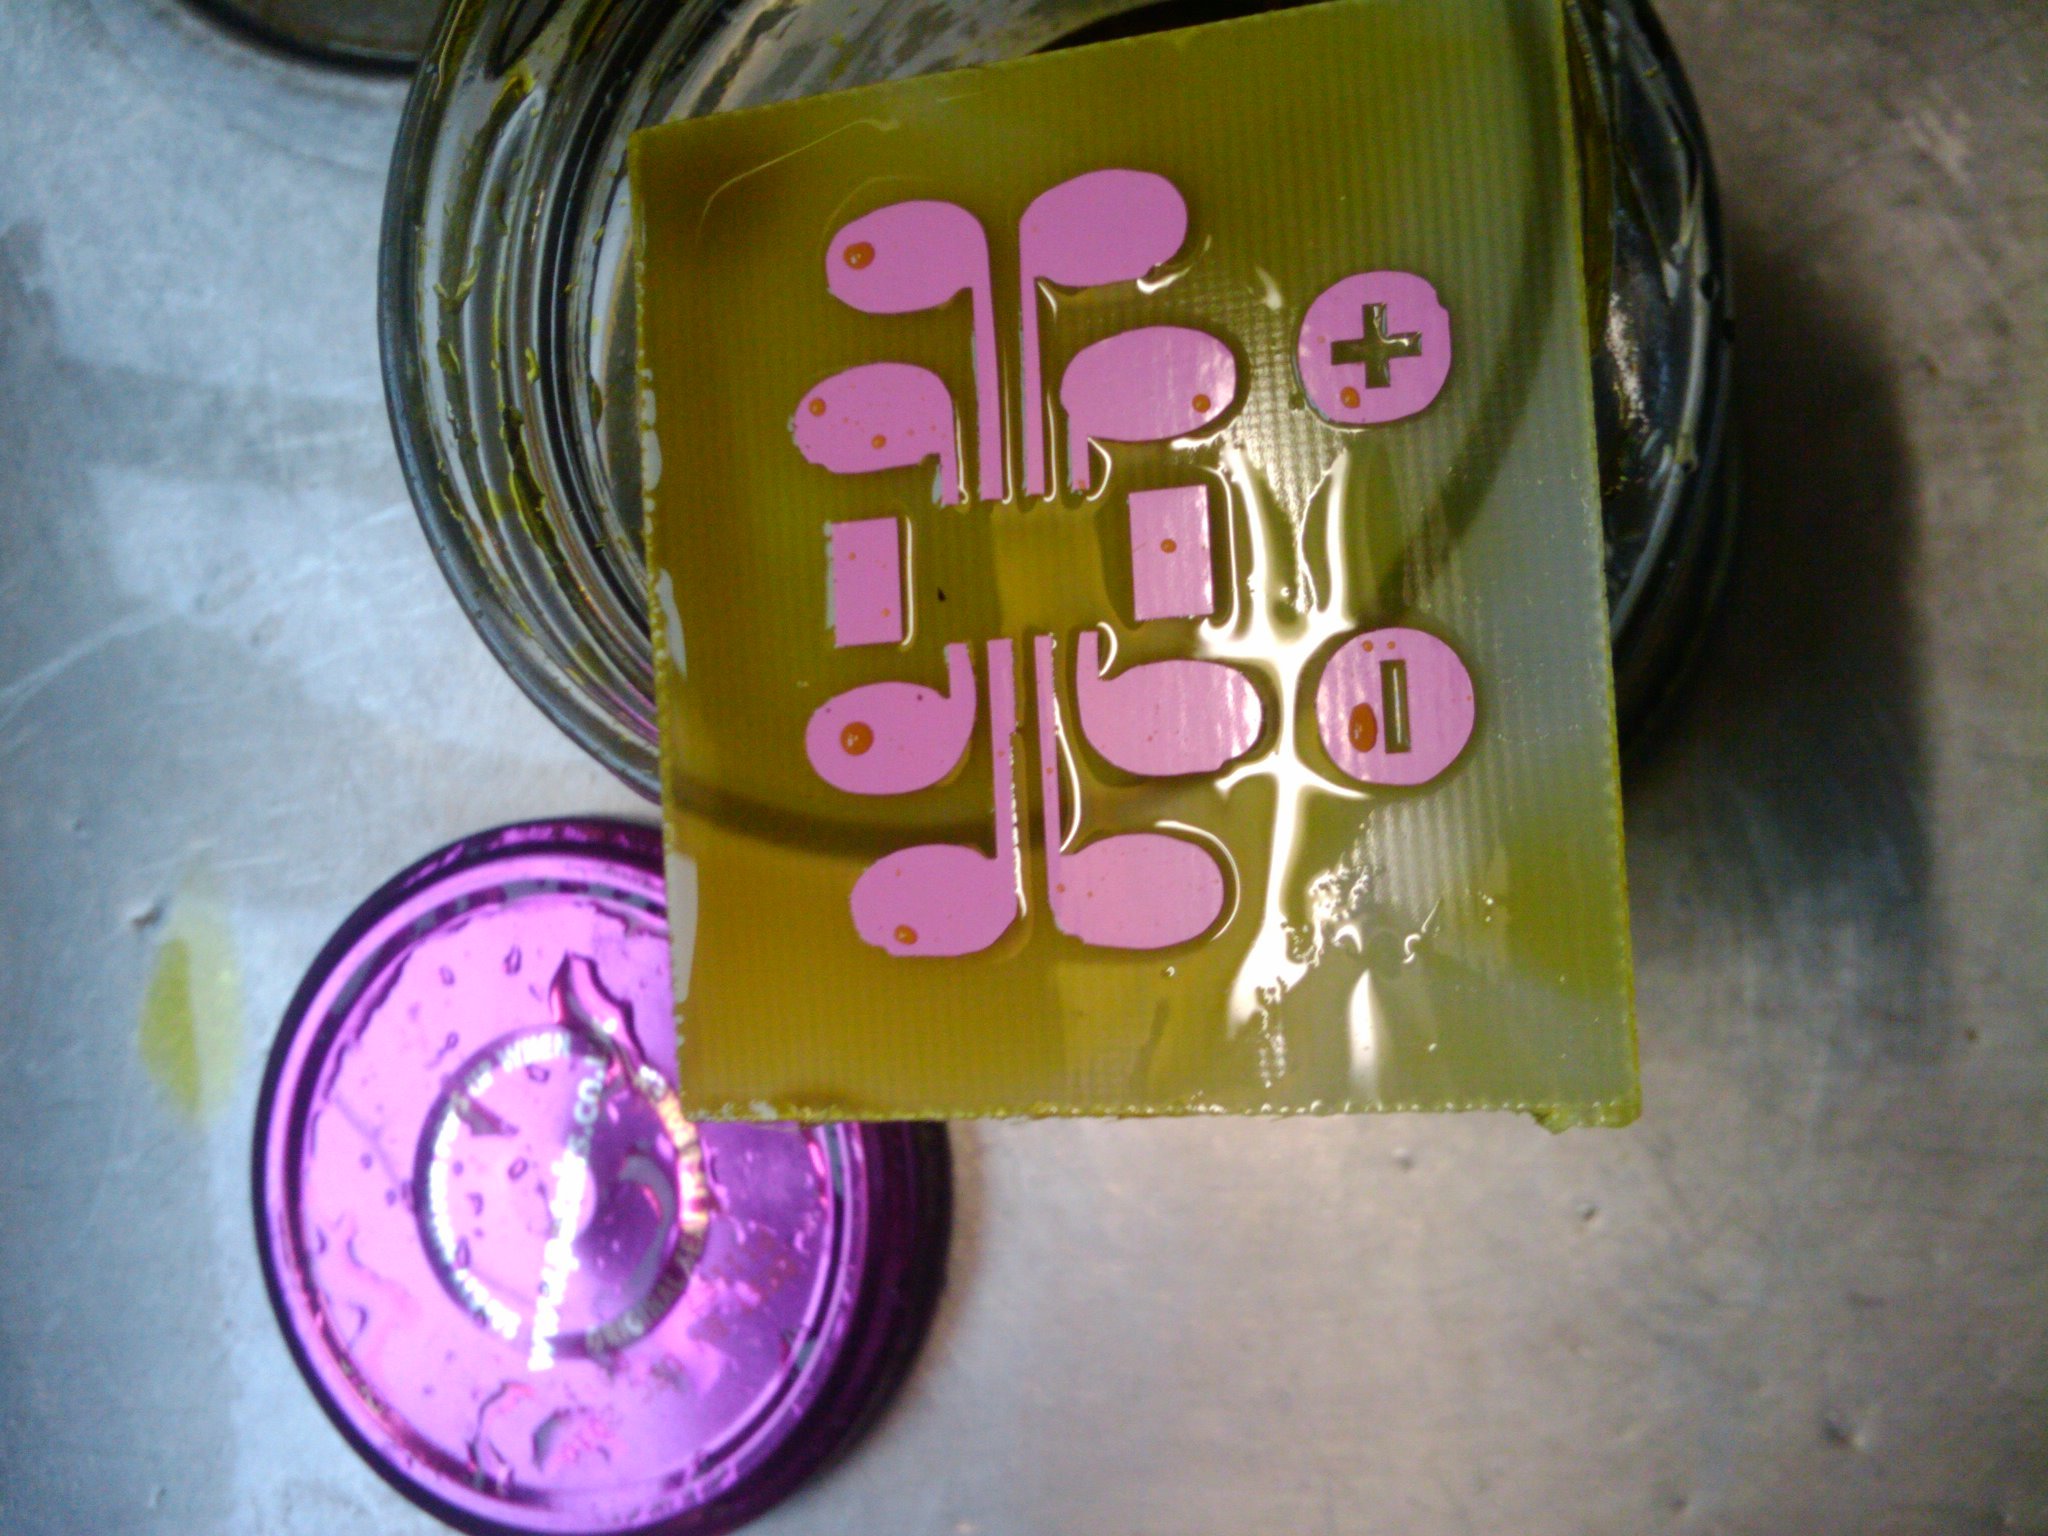
There lots of ways to etch a circuit board, but all of them create a path for the electricity by preserving and removing portions of the copper coating on the board. You might have tried drawing your circuit design on the copper with a pen or grease pencil, or silkscreen-printing it, or transferring toner from a laser printer — and then chemically etching the board. A substance used in this way is called a “resist” because it resists the etchant and protects the copper.

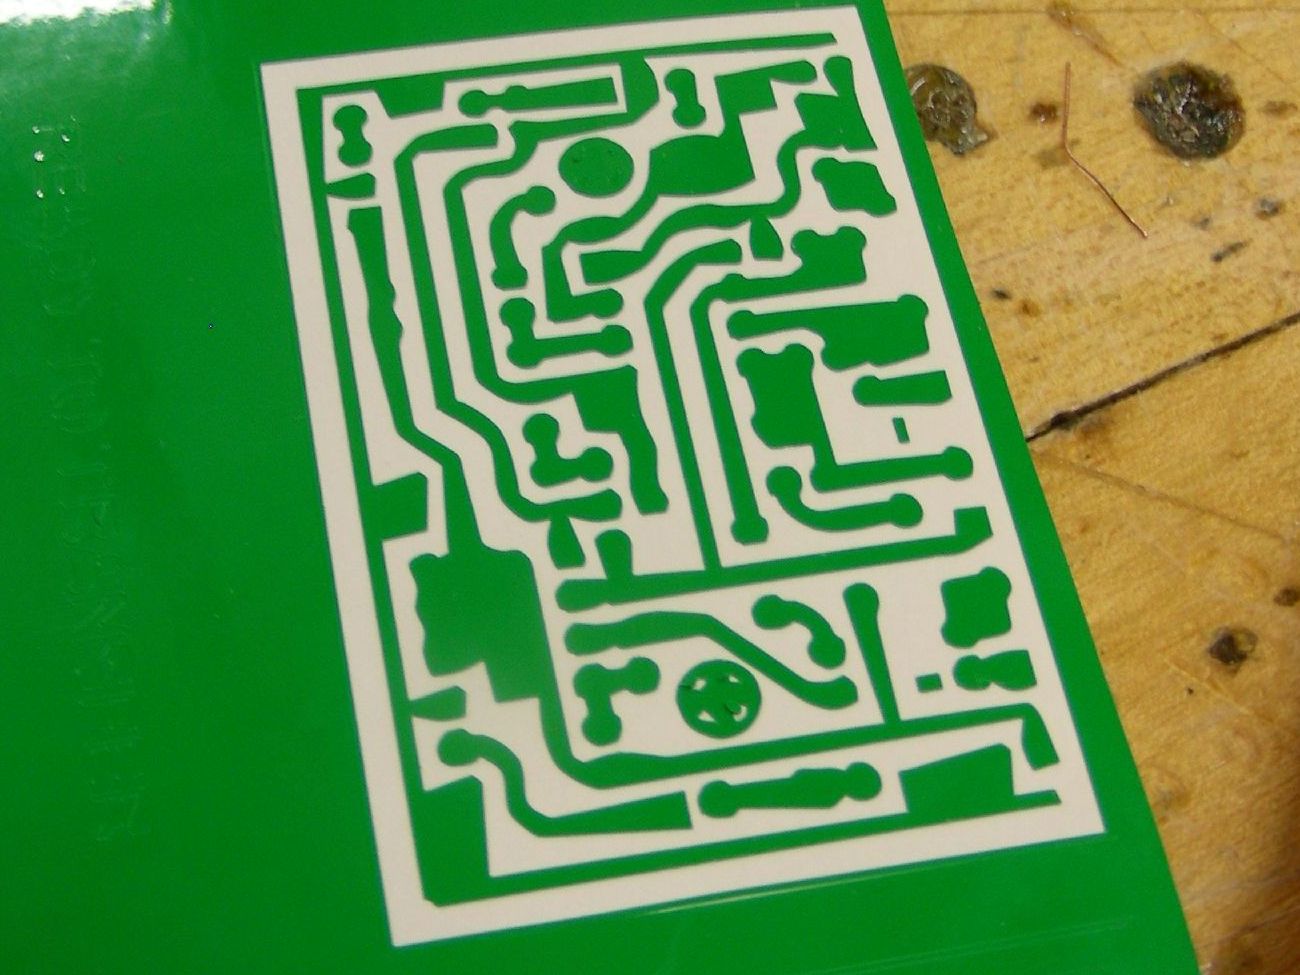
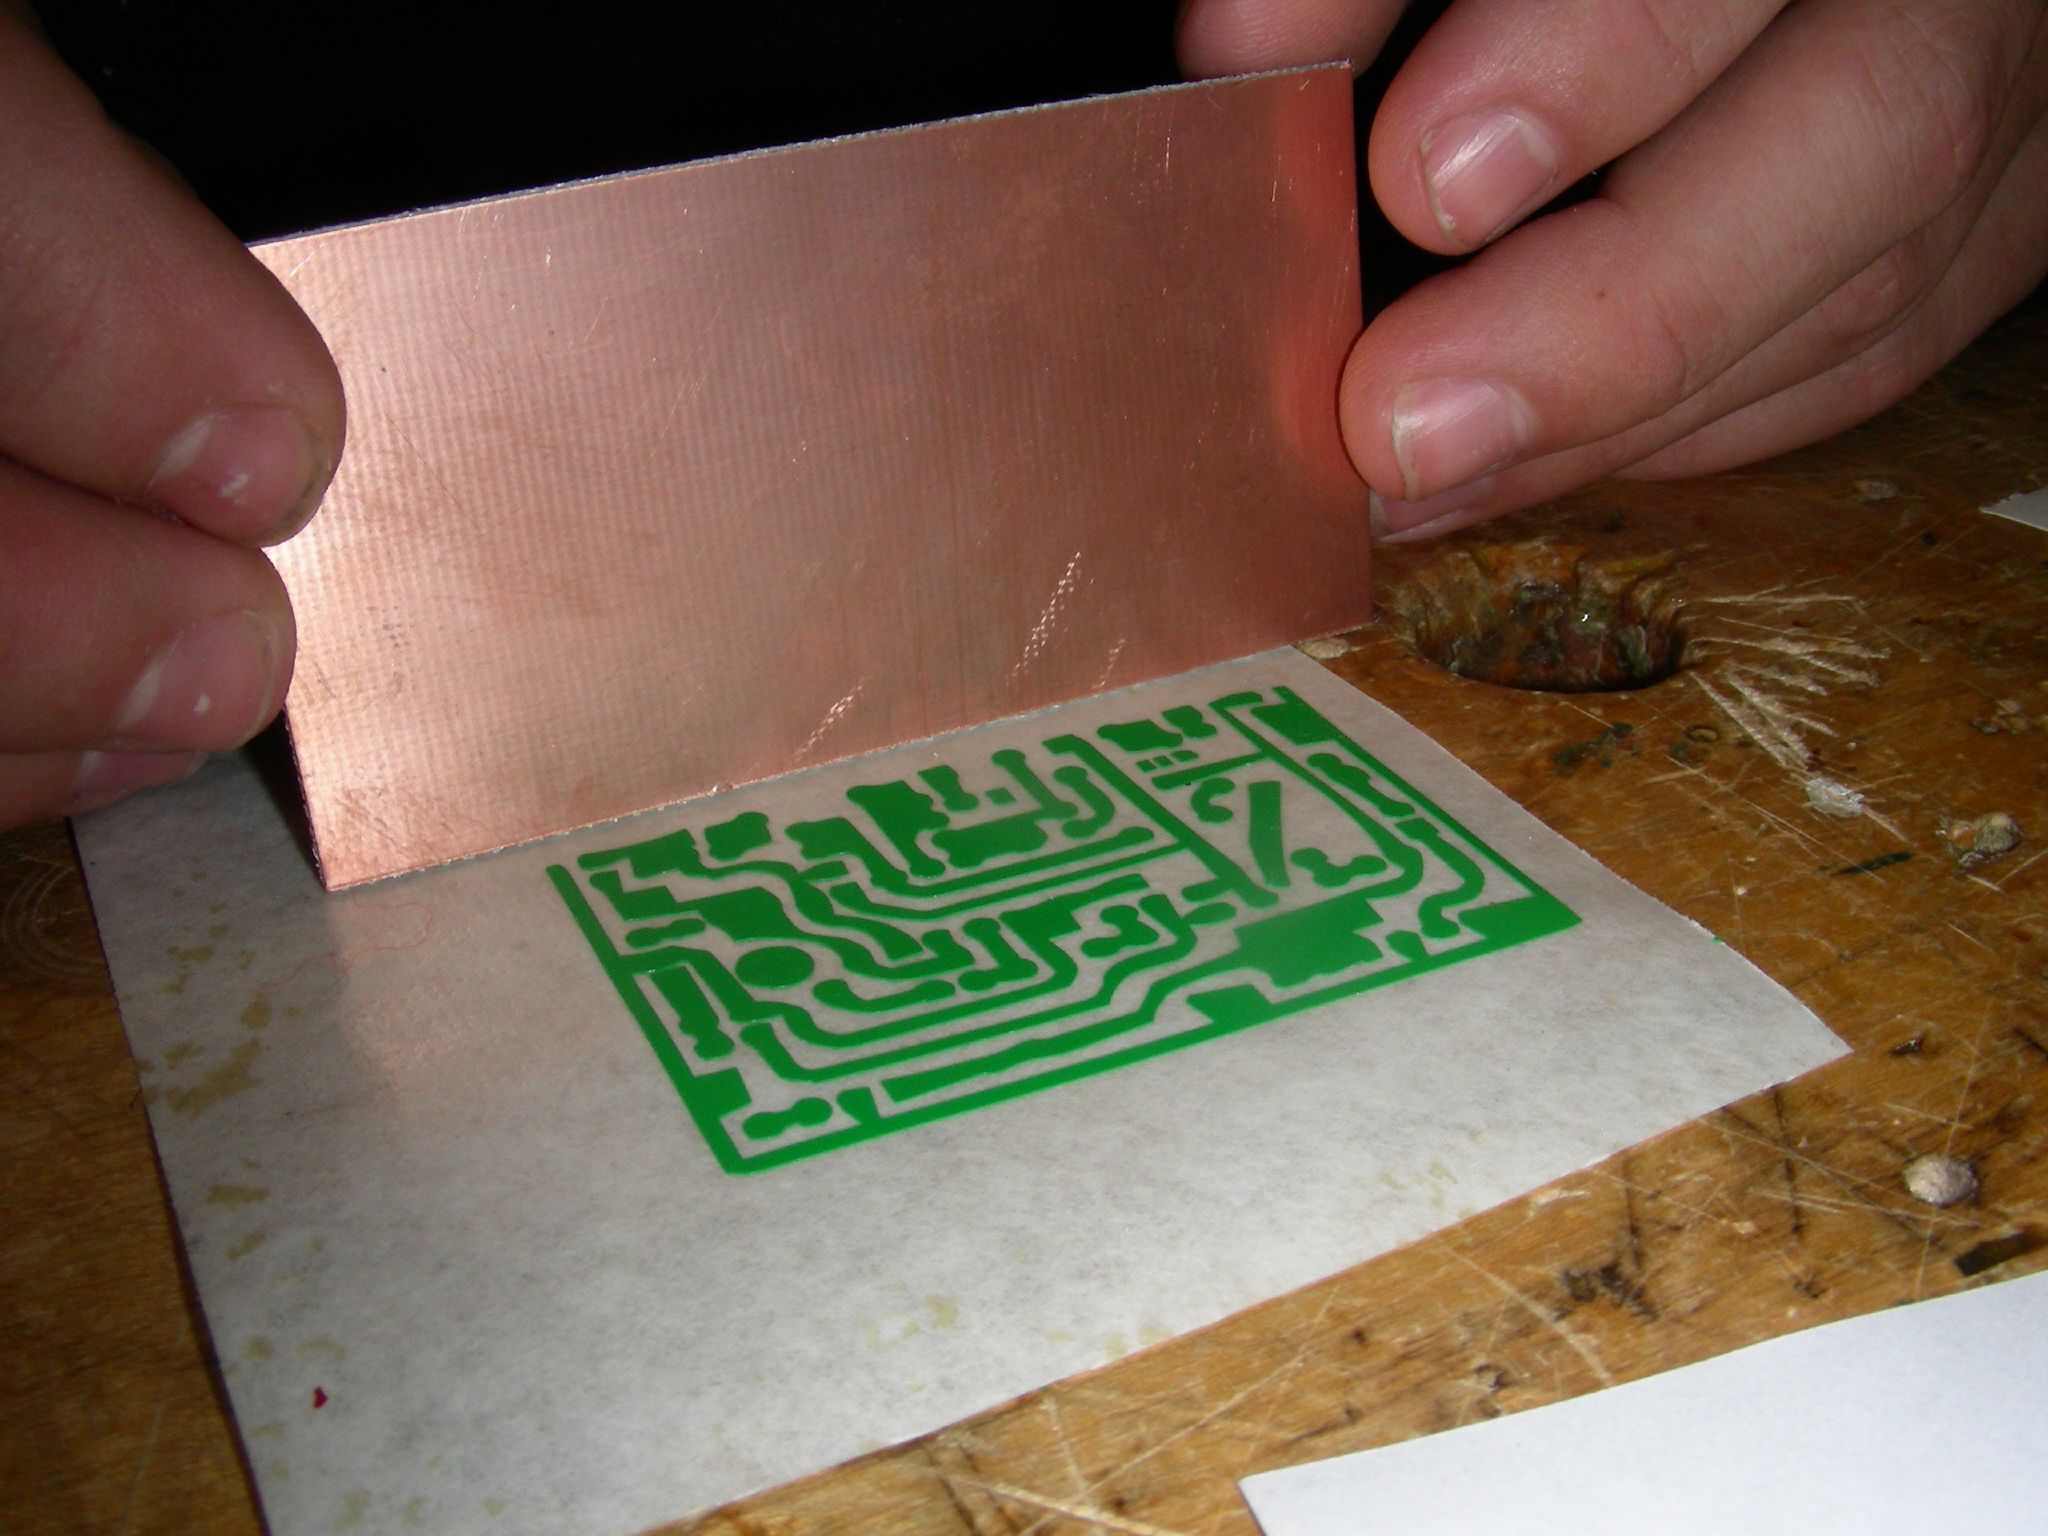
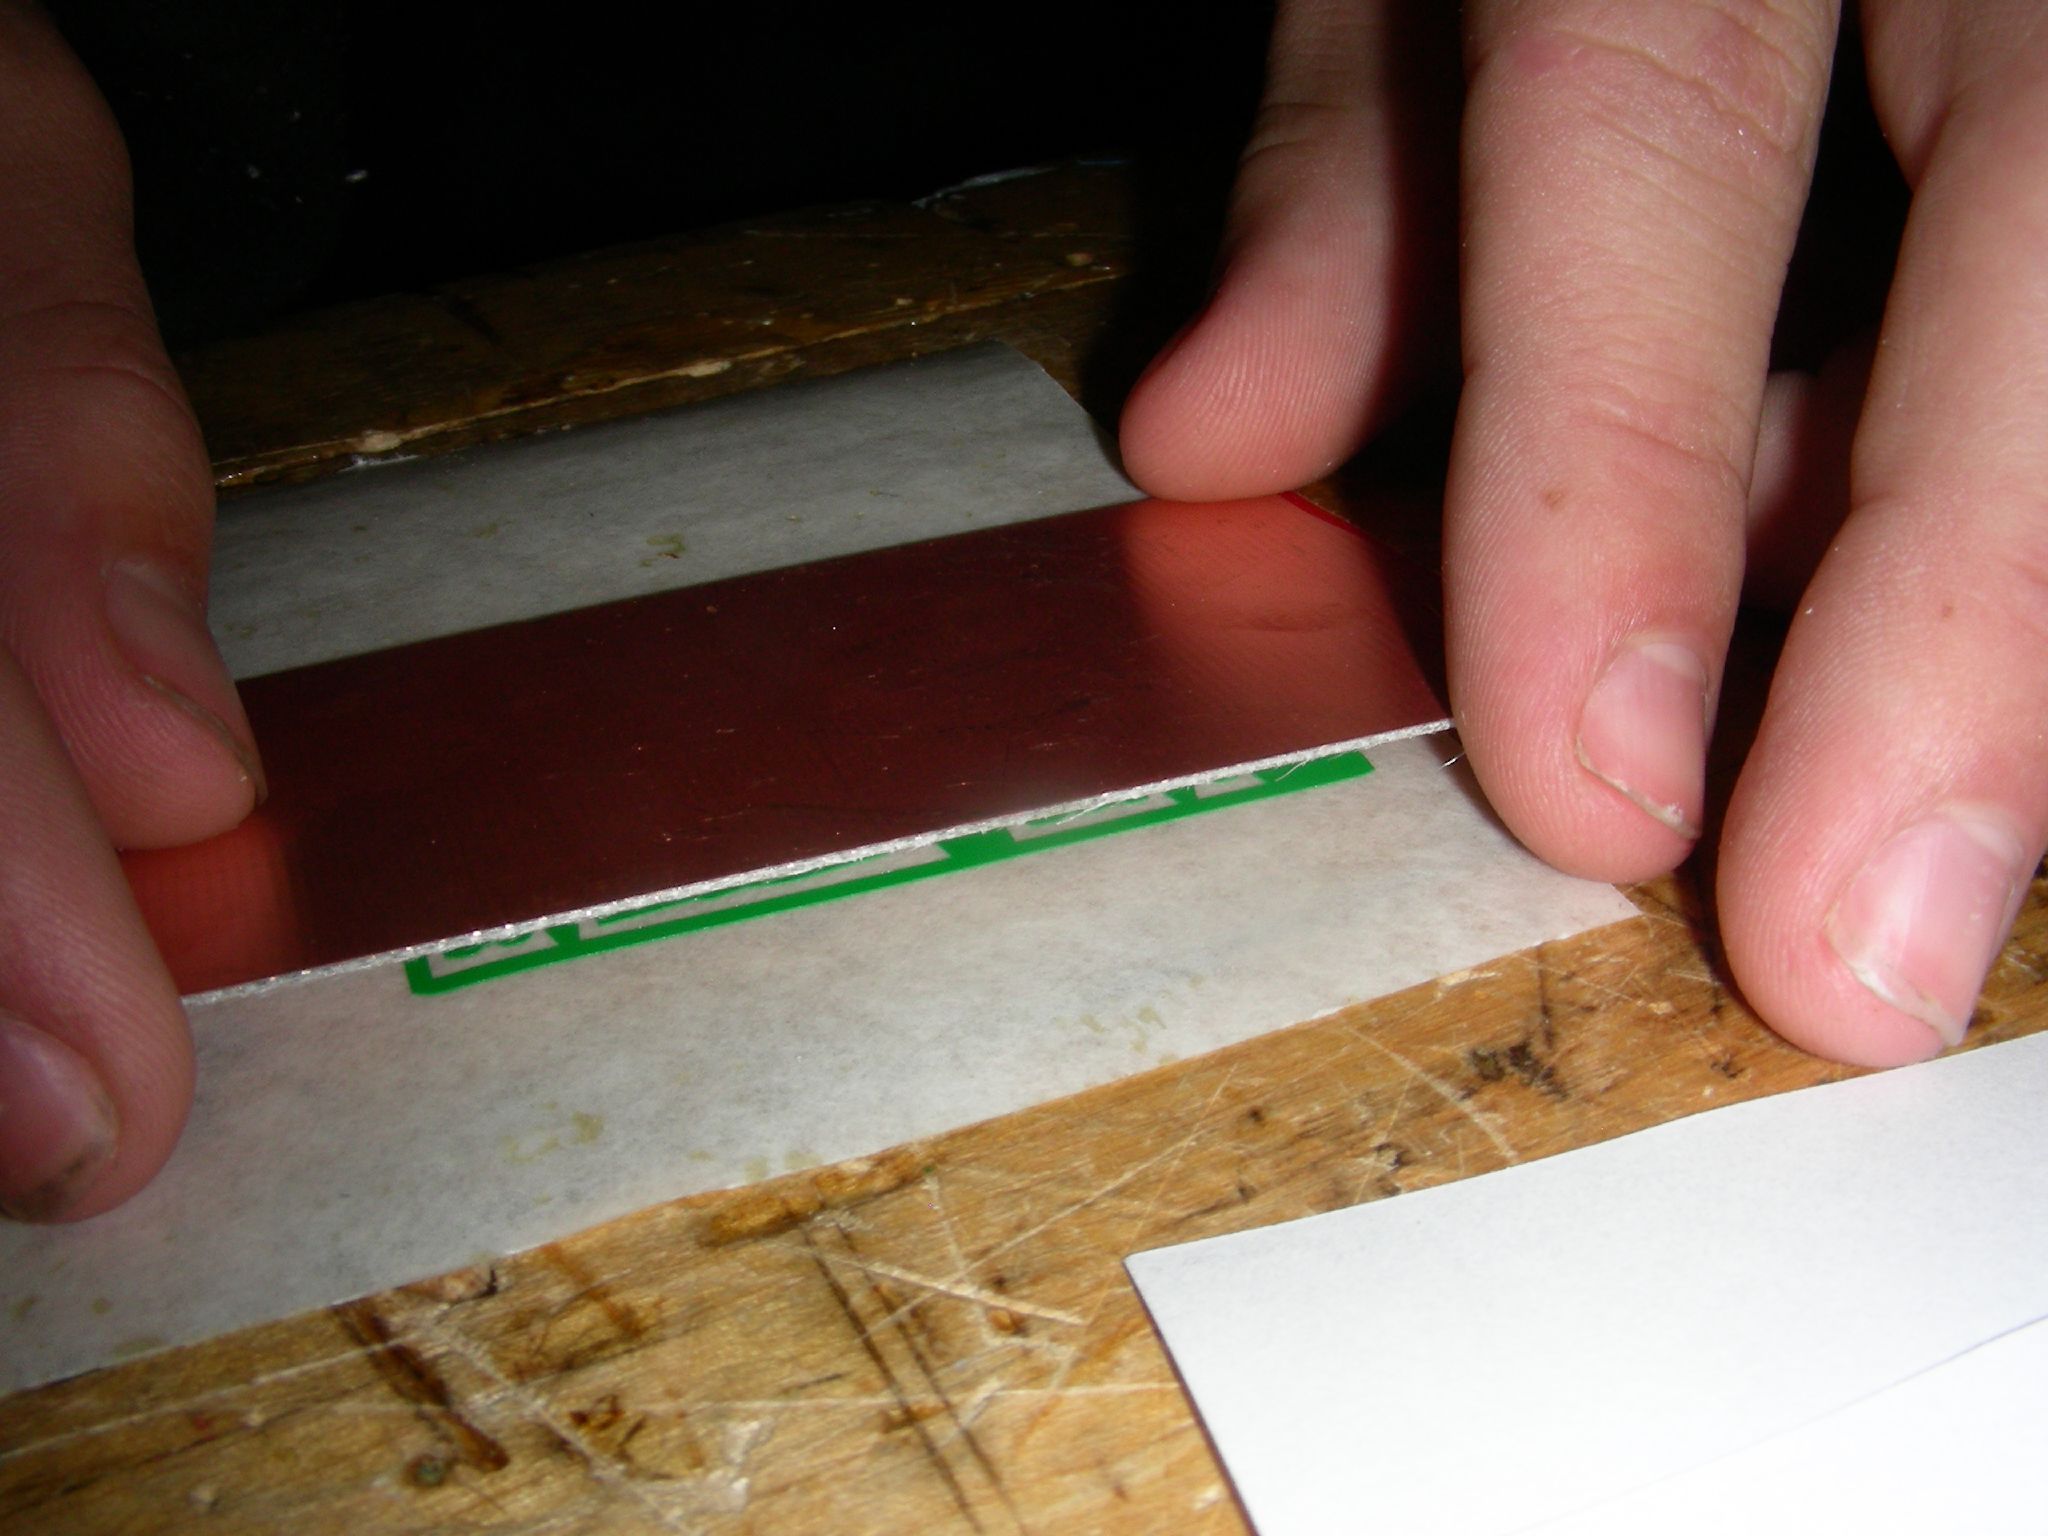
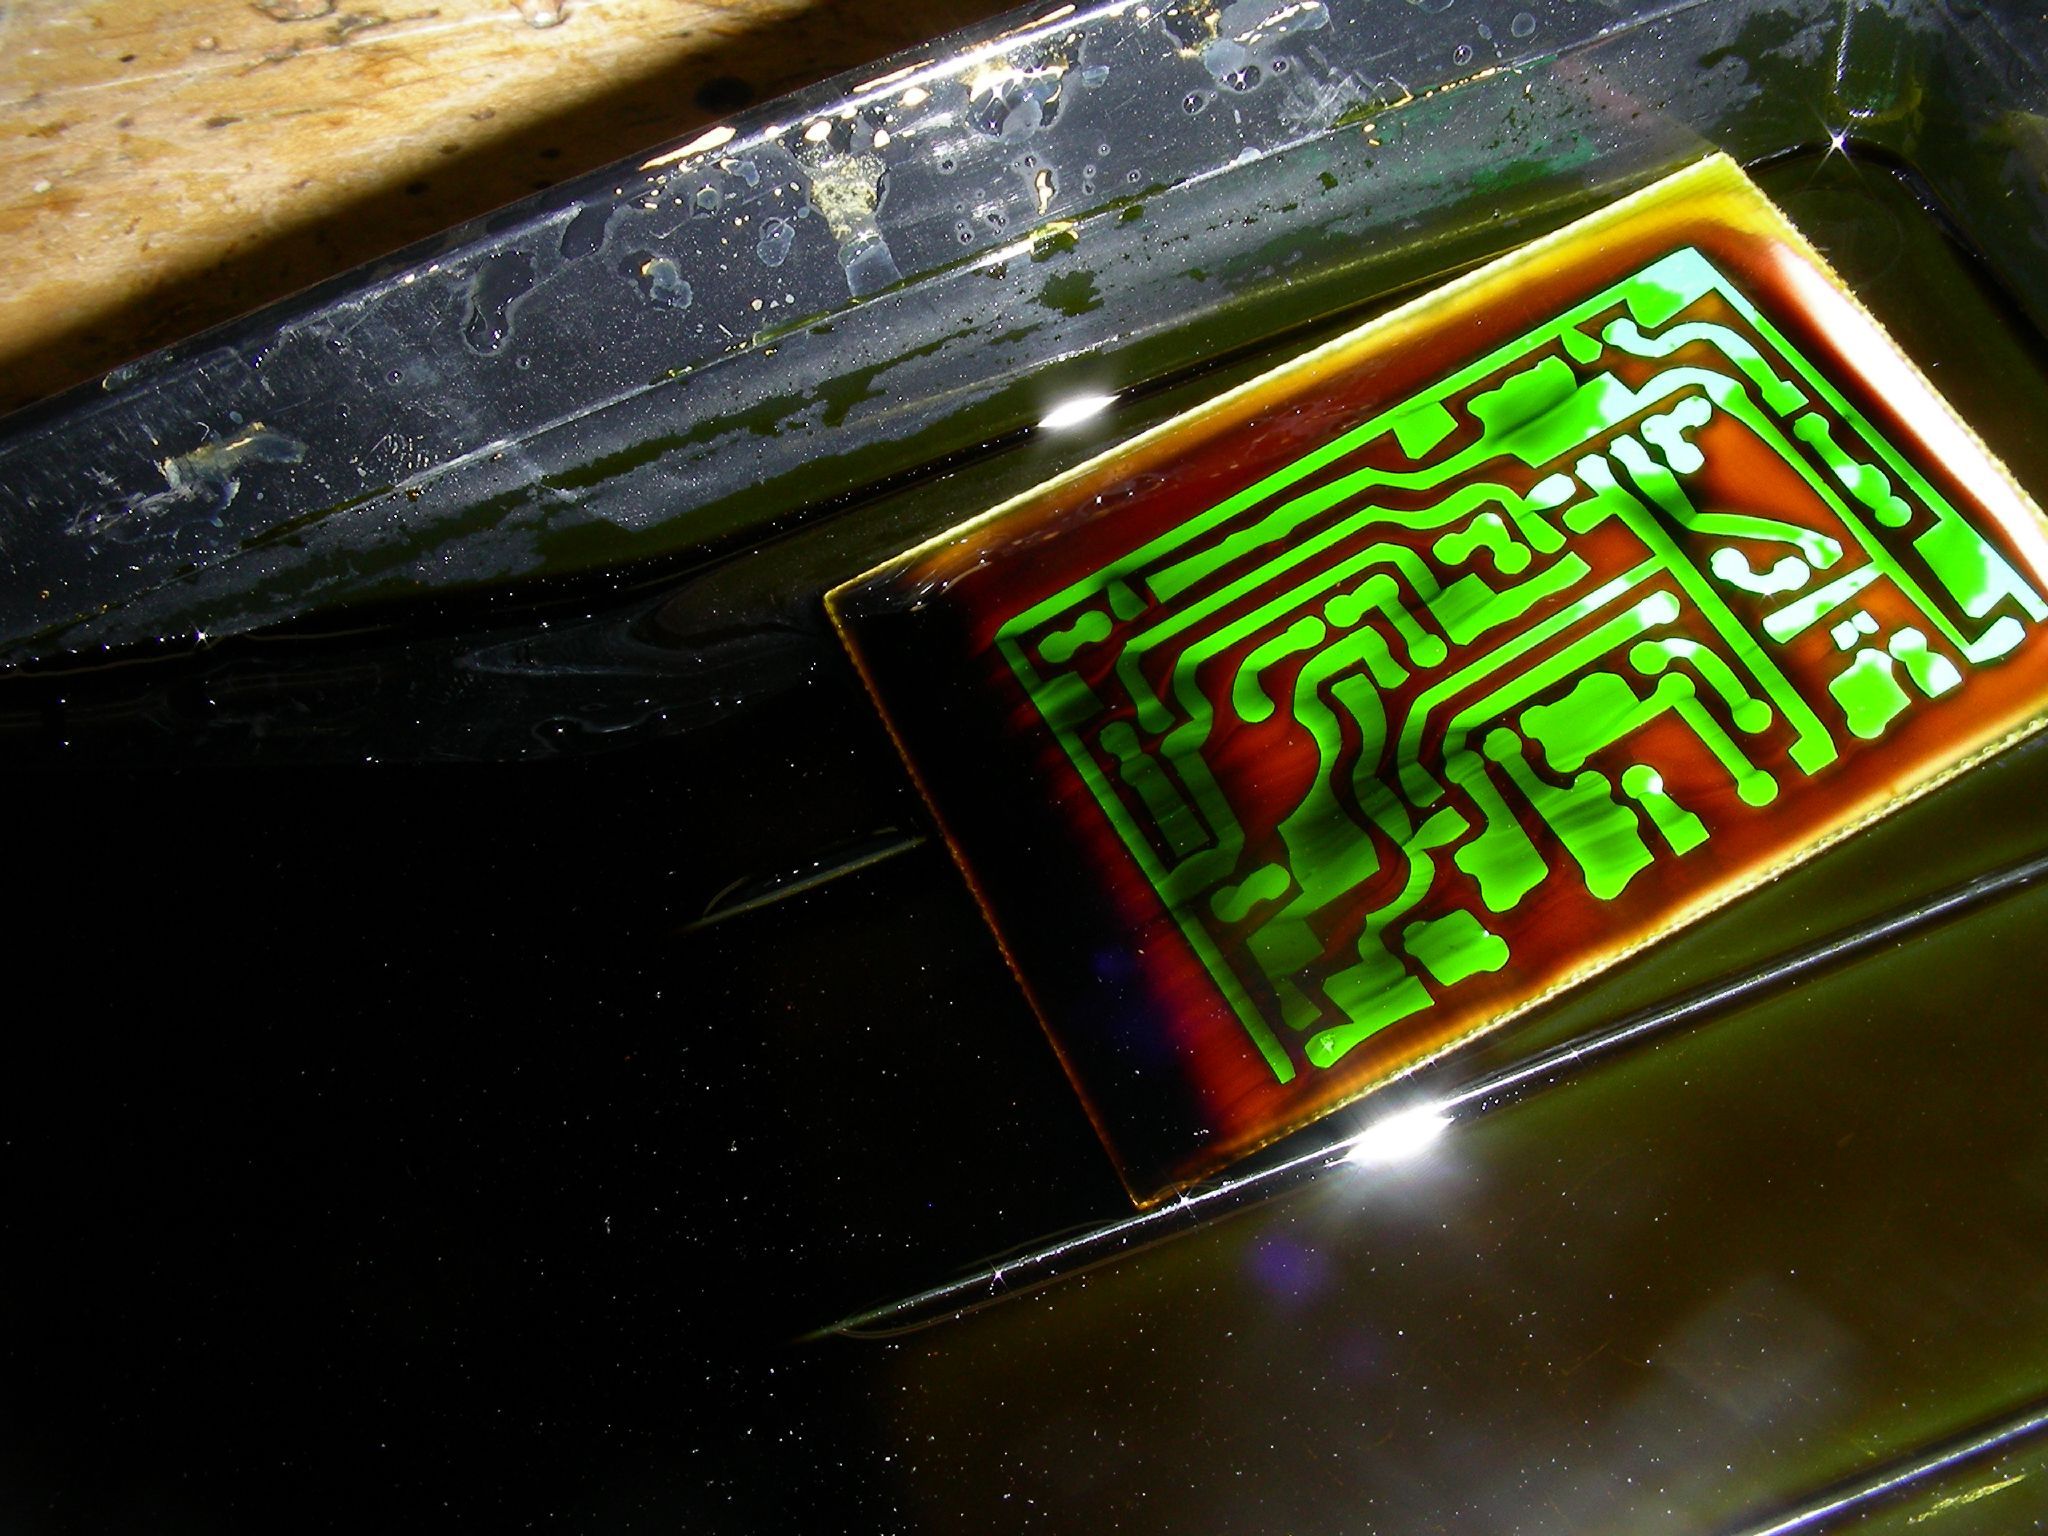
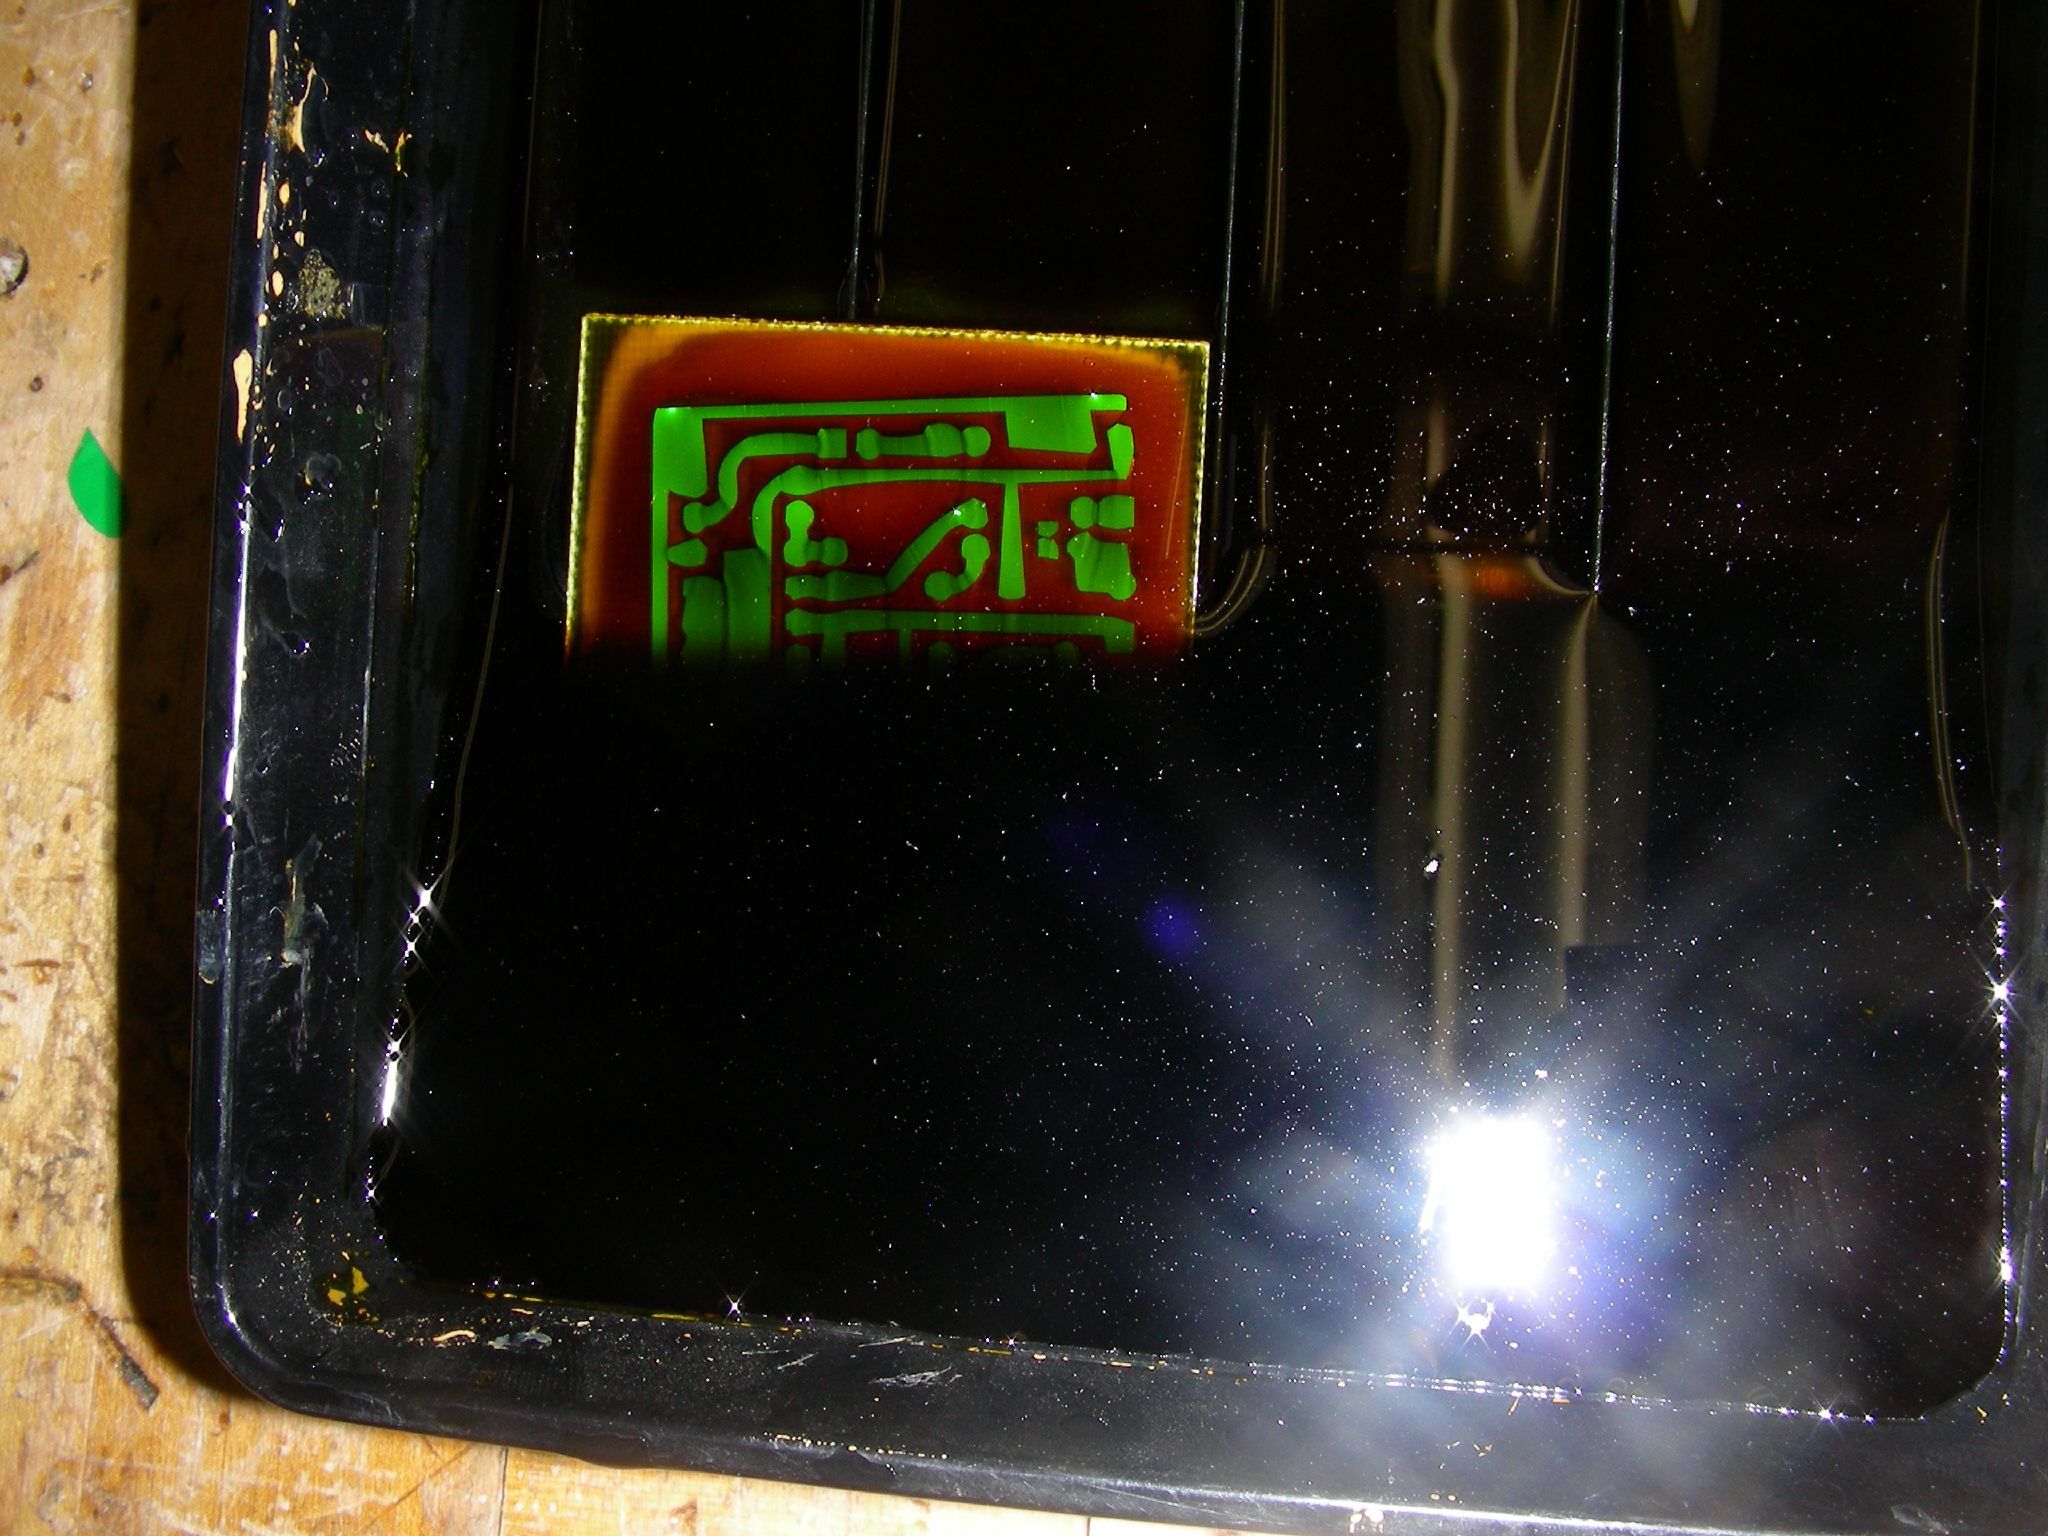
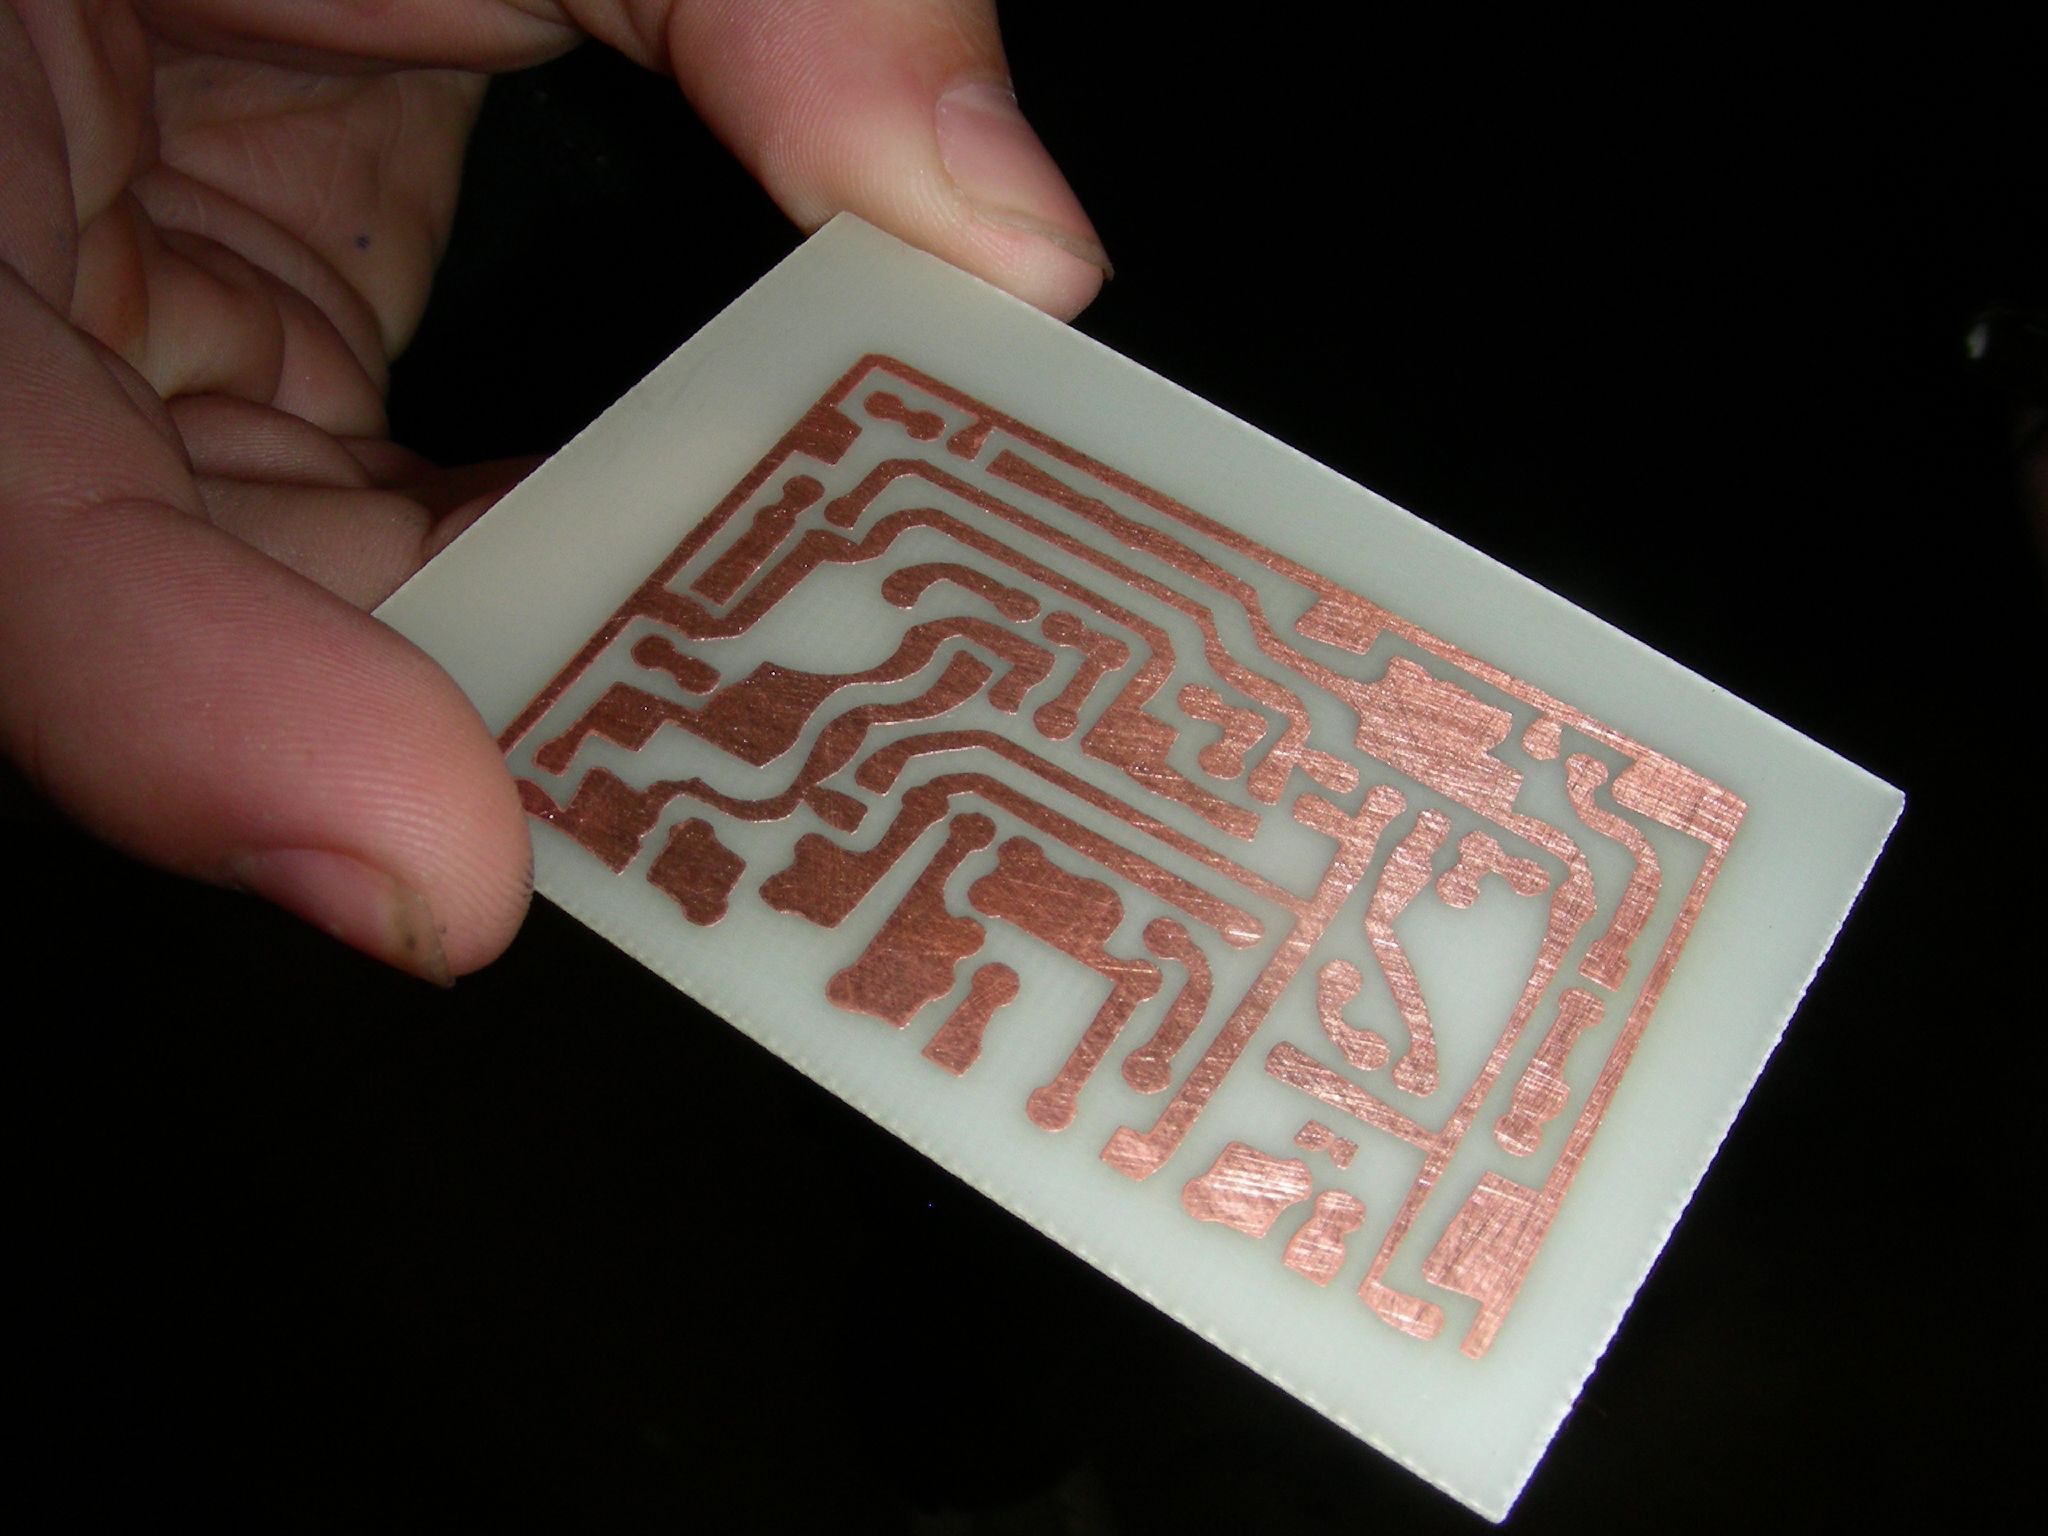
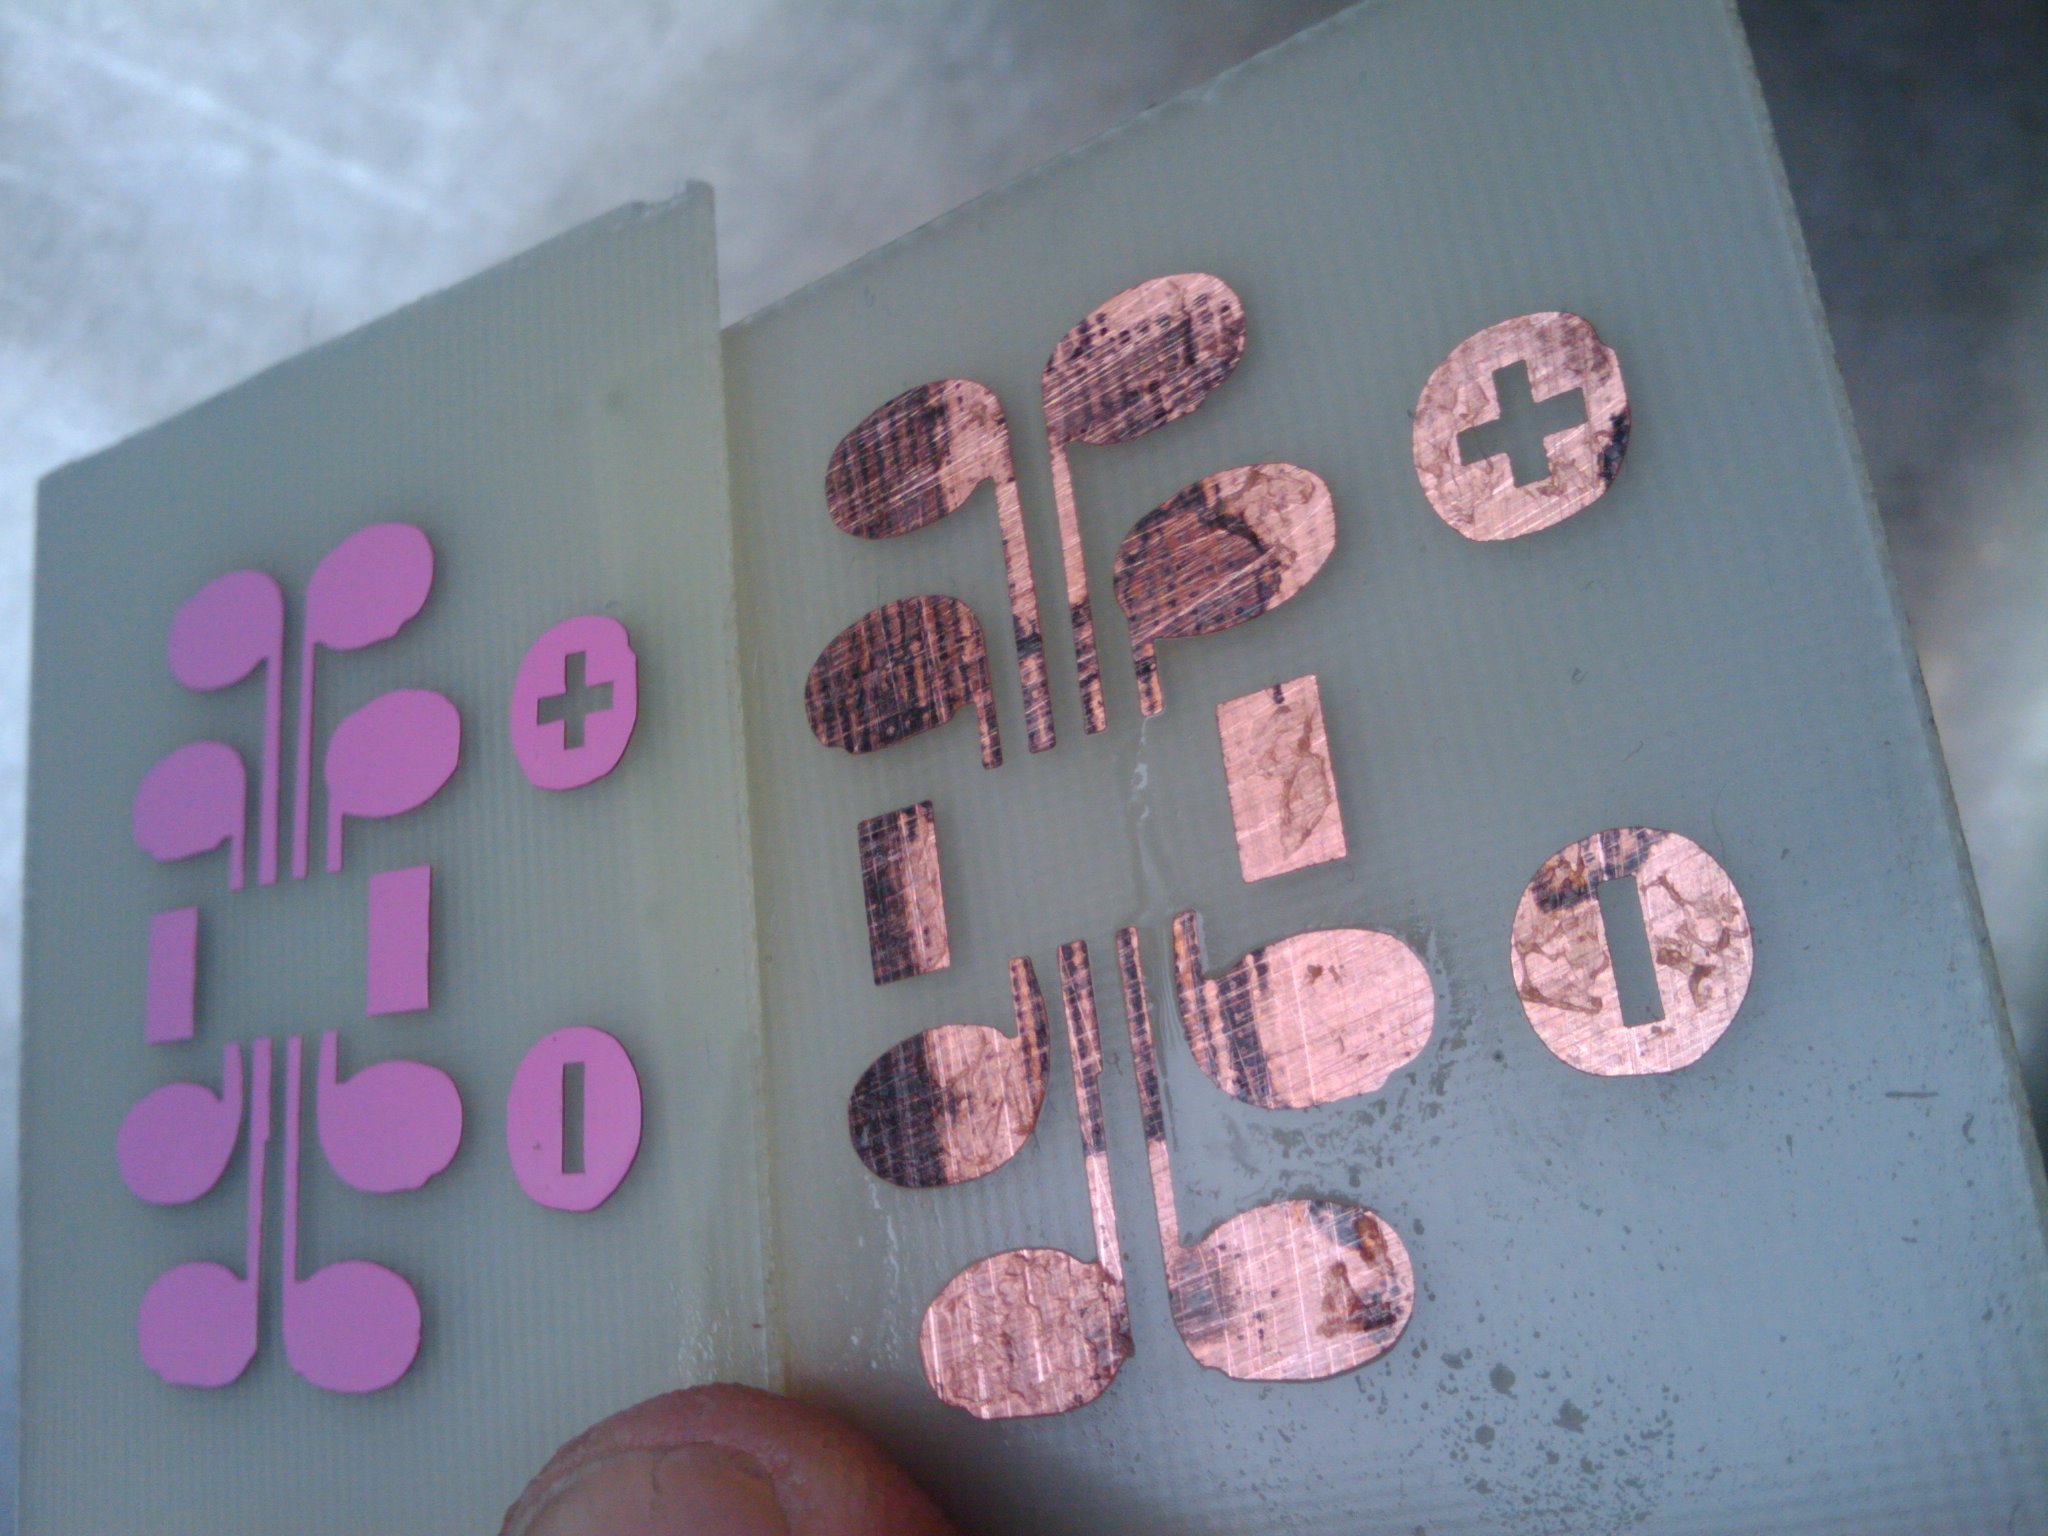
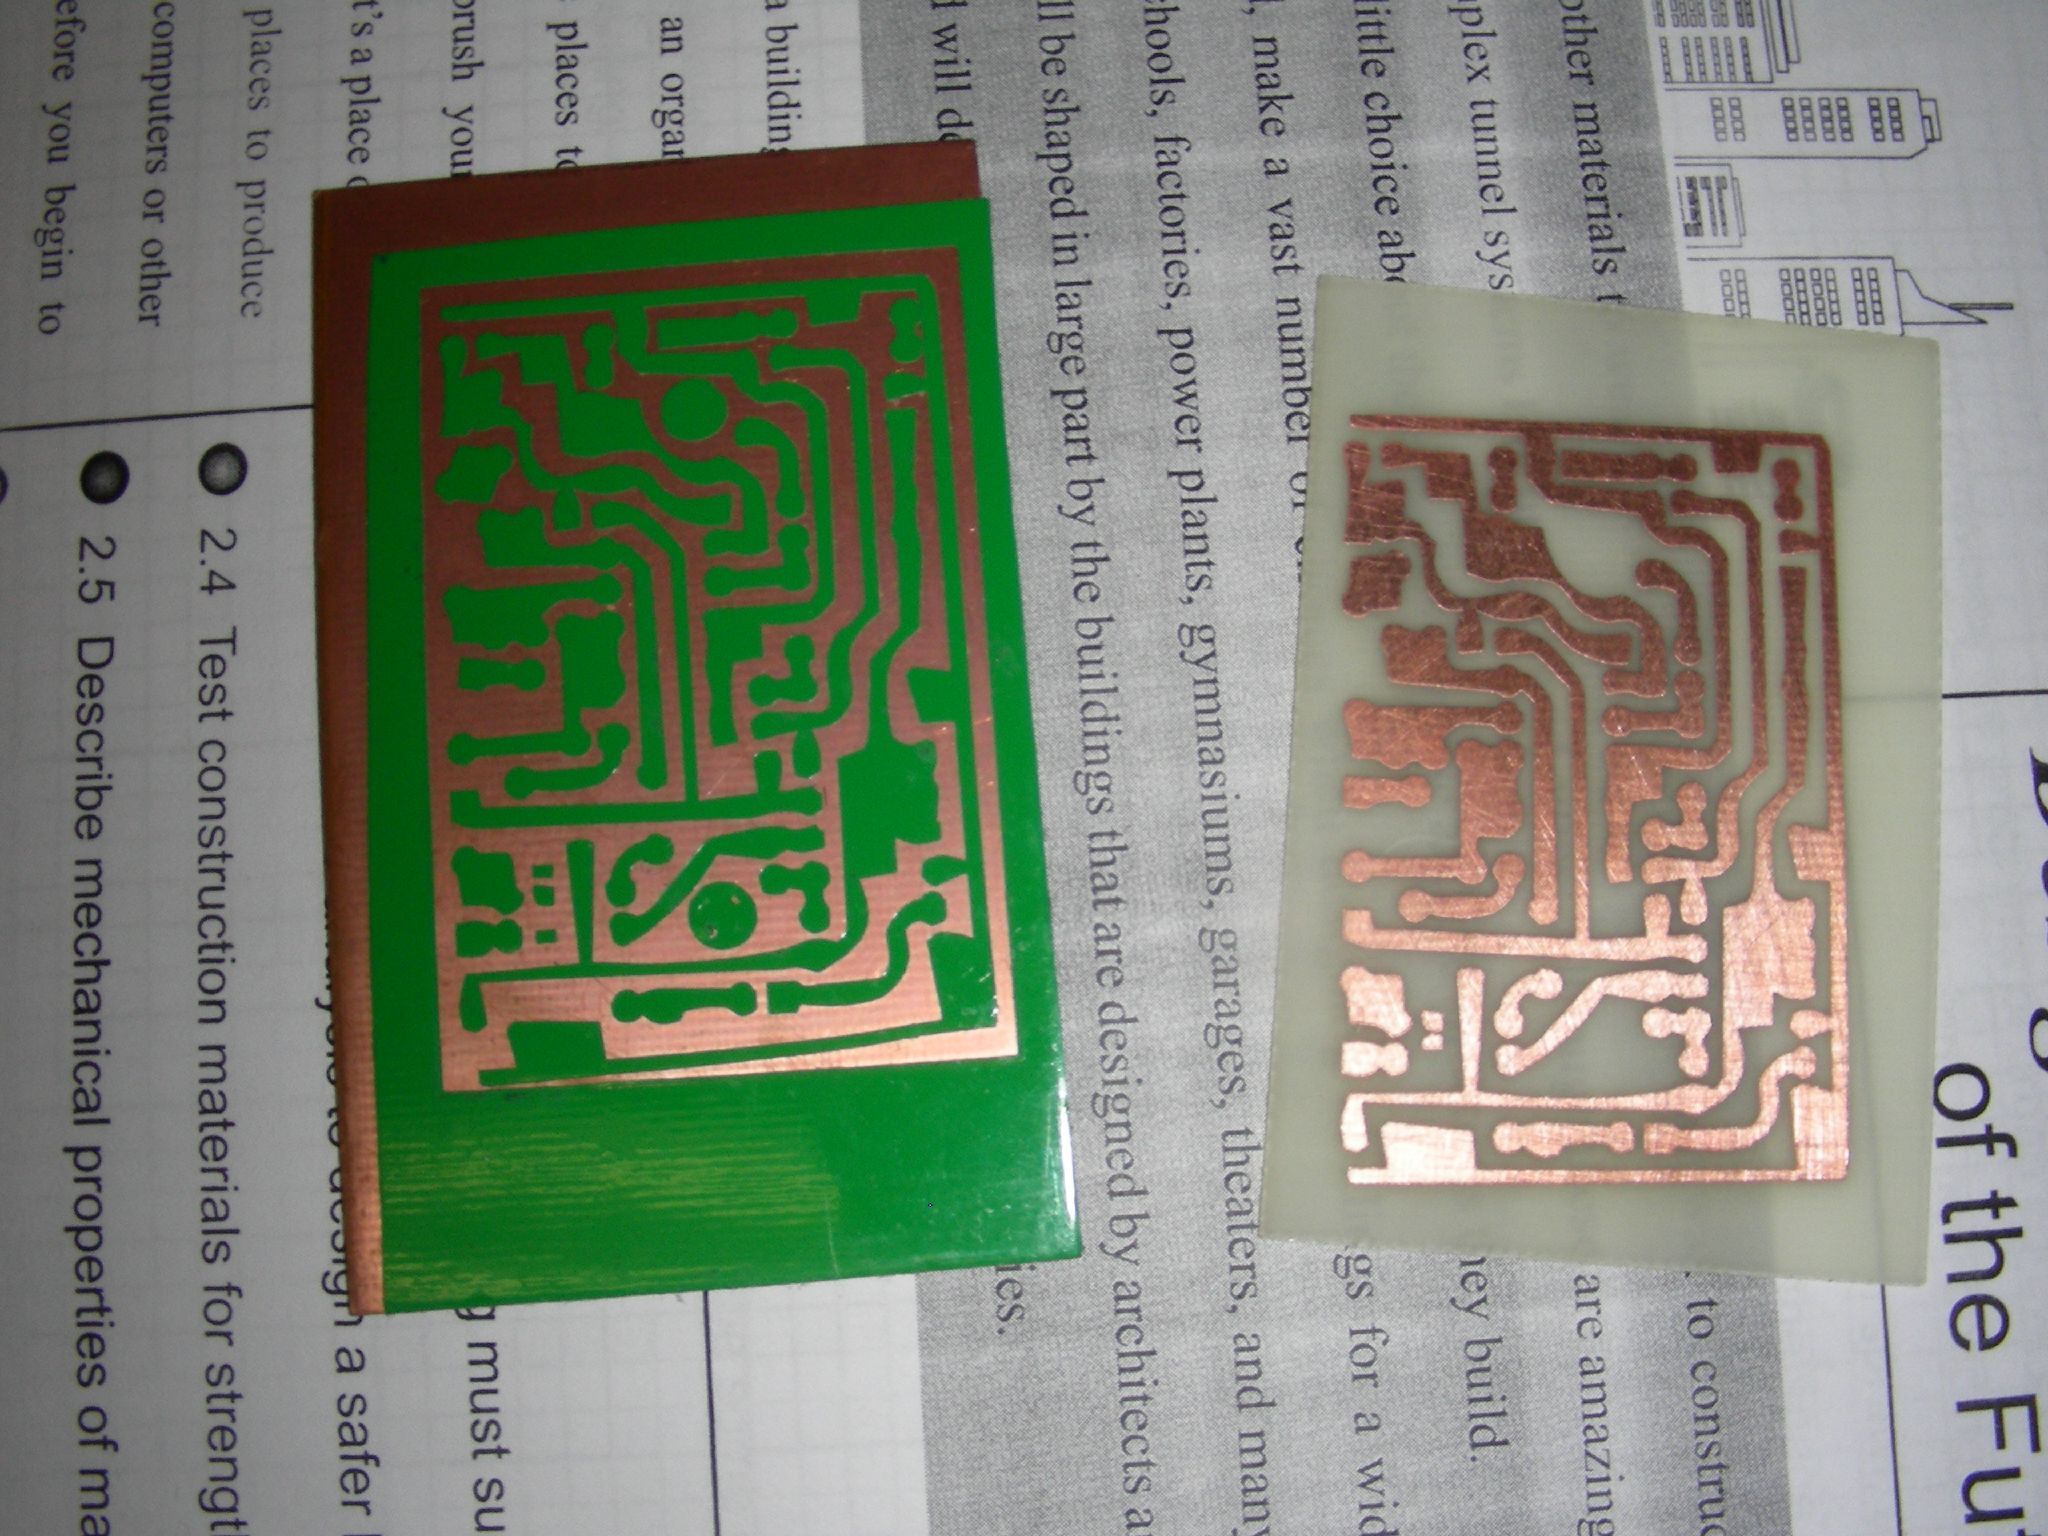
One of the easiest and most consistent methods I’ve found is to use adhesive-backed vinyl from a sign cutter to create the resist. You adhere your circuit trace image directly onto the board, and then immerse the board in a chemical bath. The exposed copper is removed, leaving just the copper traces you want for your circuit.

MAKE Volume 33 features our special Software for Makers section covering apps for circuit board design, 3D design and printing, microcontrollers, and programming for kids. Also, meet our new Arduino-powered Rovera robot and get started with Raspberry Pi. As usual, you’ll also find fascinating makers inside, like the maniacs on our cover, the hackers behind the popular Power Racing Series events at Maker Faire.

Try your hand at 22 great DIY projects, like the Optical Tremolo guitar effects box, "Panjolele" cake-pan ukelele, Wii Nunchuk Mouse, CNC joinery tricks, treat-dispensing cat scratching post, laser-cut flexing wooden books, sake brewing, growing incredibly hot “ghost chili” peppers, and much more.

On newsstands now, by subscription, or available in the Maker Shed

Buy now!

Project Steps

Cut your circuit design.

You can find free circuit board layouts and schematic diagrams in a variety of places; search the Open Circuits wiki and Adafruit’s Github repository to get a taste of what’s out there. Lots of people have shared interesting circuits on themed hobbyist websites, too (diystompboxes.com, for example).

Convert your board design into an image format that your vinyl cutter can use. If you bring the design to a shop, they’ll tell you what formats to use. Go with whatever process the CNC machine’s operator is familiar with.

Cut the design into the vinyl with the CNC machine. If you’re using a service, make sure you know the cut is scaled accurately. If the design isn’t the right size, your parts may not fit properly.

Weed your vinyl stickers.

Weed out the parts of the design where you want the copper removed from the board, by carefully removing the unwanted vinyl bits. Leave behind the parts where you want to protect the copper.

Most vinyl cutters come with a fancy, sharp set of tweezers, but I use a utility knife or a pushpin taped into the barrel of an old pen to pick out the parts of the vinyl I don’t want.

IMPORTANT: Double-check that your design is the right size, and that you left all the correct parts on the sticker when you weeded it!

CHRIS — Some people prefer to weed the sticker after they put it on the copper board. What do you say to this?

Transfer the vinyl to the copper board.

Scuff up the surface of the board so that the etchant chemicals will be able to reach the copper easily. Circuit board blanks are treated with a clear coating that keeps the copper from oxidizing in the air. If this coating has been removed for any amount of time, you’ll see dark spots. These spots shouldn’t affect your circuit etching.

Place your weeded sticker on a flat surface, and then cover it with transfer tape or masking tape. Make sure the tape you use is a low-stick adhesive. If you use very sticky tape, the vinyl won’t stay on your circuit board.

Use the transfer tape to lift your vinyl sticker off its original backing, and then put the sticker onto the copper face of the board. Smooth it down firmly everywhere to get the best adhesion you can.

Prepare your etchant bath.

Put your etchant chemicals into a nonmetallic tray or a jar with a tight fitting lid. Using a smaller tray or jar will help you to use less liquid and still cover the board.

Wear safety goggles and rubber or vinyl gloves, to keep the etchant chemicals out of your eyes and off your skin.

Most people use ferric chloride — for instructions, check out MAKE’s how-to video on PCB etching (the etching begins at 5:46).

Other chemicals will work also, such as muriatic (hydrochloric) acid and hydrogen peroxide — check out The Real Elliot’s tutorial on Instructables.

TIP: If your etching liquid is warm, it will act faster on the copper board, reducing your etching time. You can prepare a warming tray filled with hot water, and place your etching tray or jar in it to raise the temperature. Make sure you don’t overheat the etchant.

Etch the circuit board.

Immerse the circuit board in the bath of etchant.

Agitate the board from time to time, to keep fresh etchant working on the copper.

TIP: If you etch in a small jar, you can seal the lid and shake it gently to agitate it with less risk of spilling.

Remove the board frequently to check its progress. If you etch for too long, you could etch away the circuit traces. However, over-etching is much less likely with this technique, since the vinyl makes a very tight bond with the circuit board.

It’s done when the copper is completely removed from the areas not covered by vinyl. Take the board out of the etchant and rinse it under cold running water.

Peel the vinyl stickers off.

Once you’re sure the copper on the board is cleared to your satisfaction, peel the vinyl resist off the board. It should come off easily.

If you decide you really need to etch it some more, you can, but placing the vinyl back on may be a challenge if your circuit traces are thin or complex. It’s best to leave it in the etchant until you’re sure it’s done!

Check out your new circuit board!

Use your new circuit board.

Compare your circuit board to the original artwork. If everything is to your satisfaction, you can now drill out the holes for your components and build your circuit.

If you use the image from this design http://www.thingiverse.com/thing:25310, you can use through-hole components with surface mount soldering techniques. Chris — what is this Thingiverse circuit board actually used for?