


Reader Input
Cosplay, pizza ovens, and sourcing supplies.Page 06
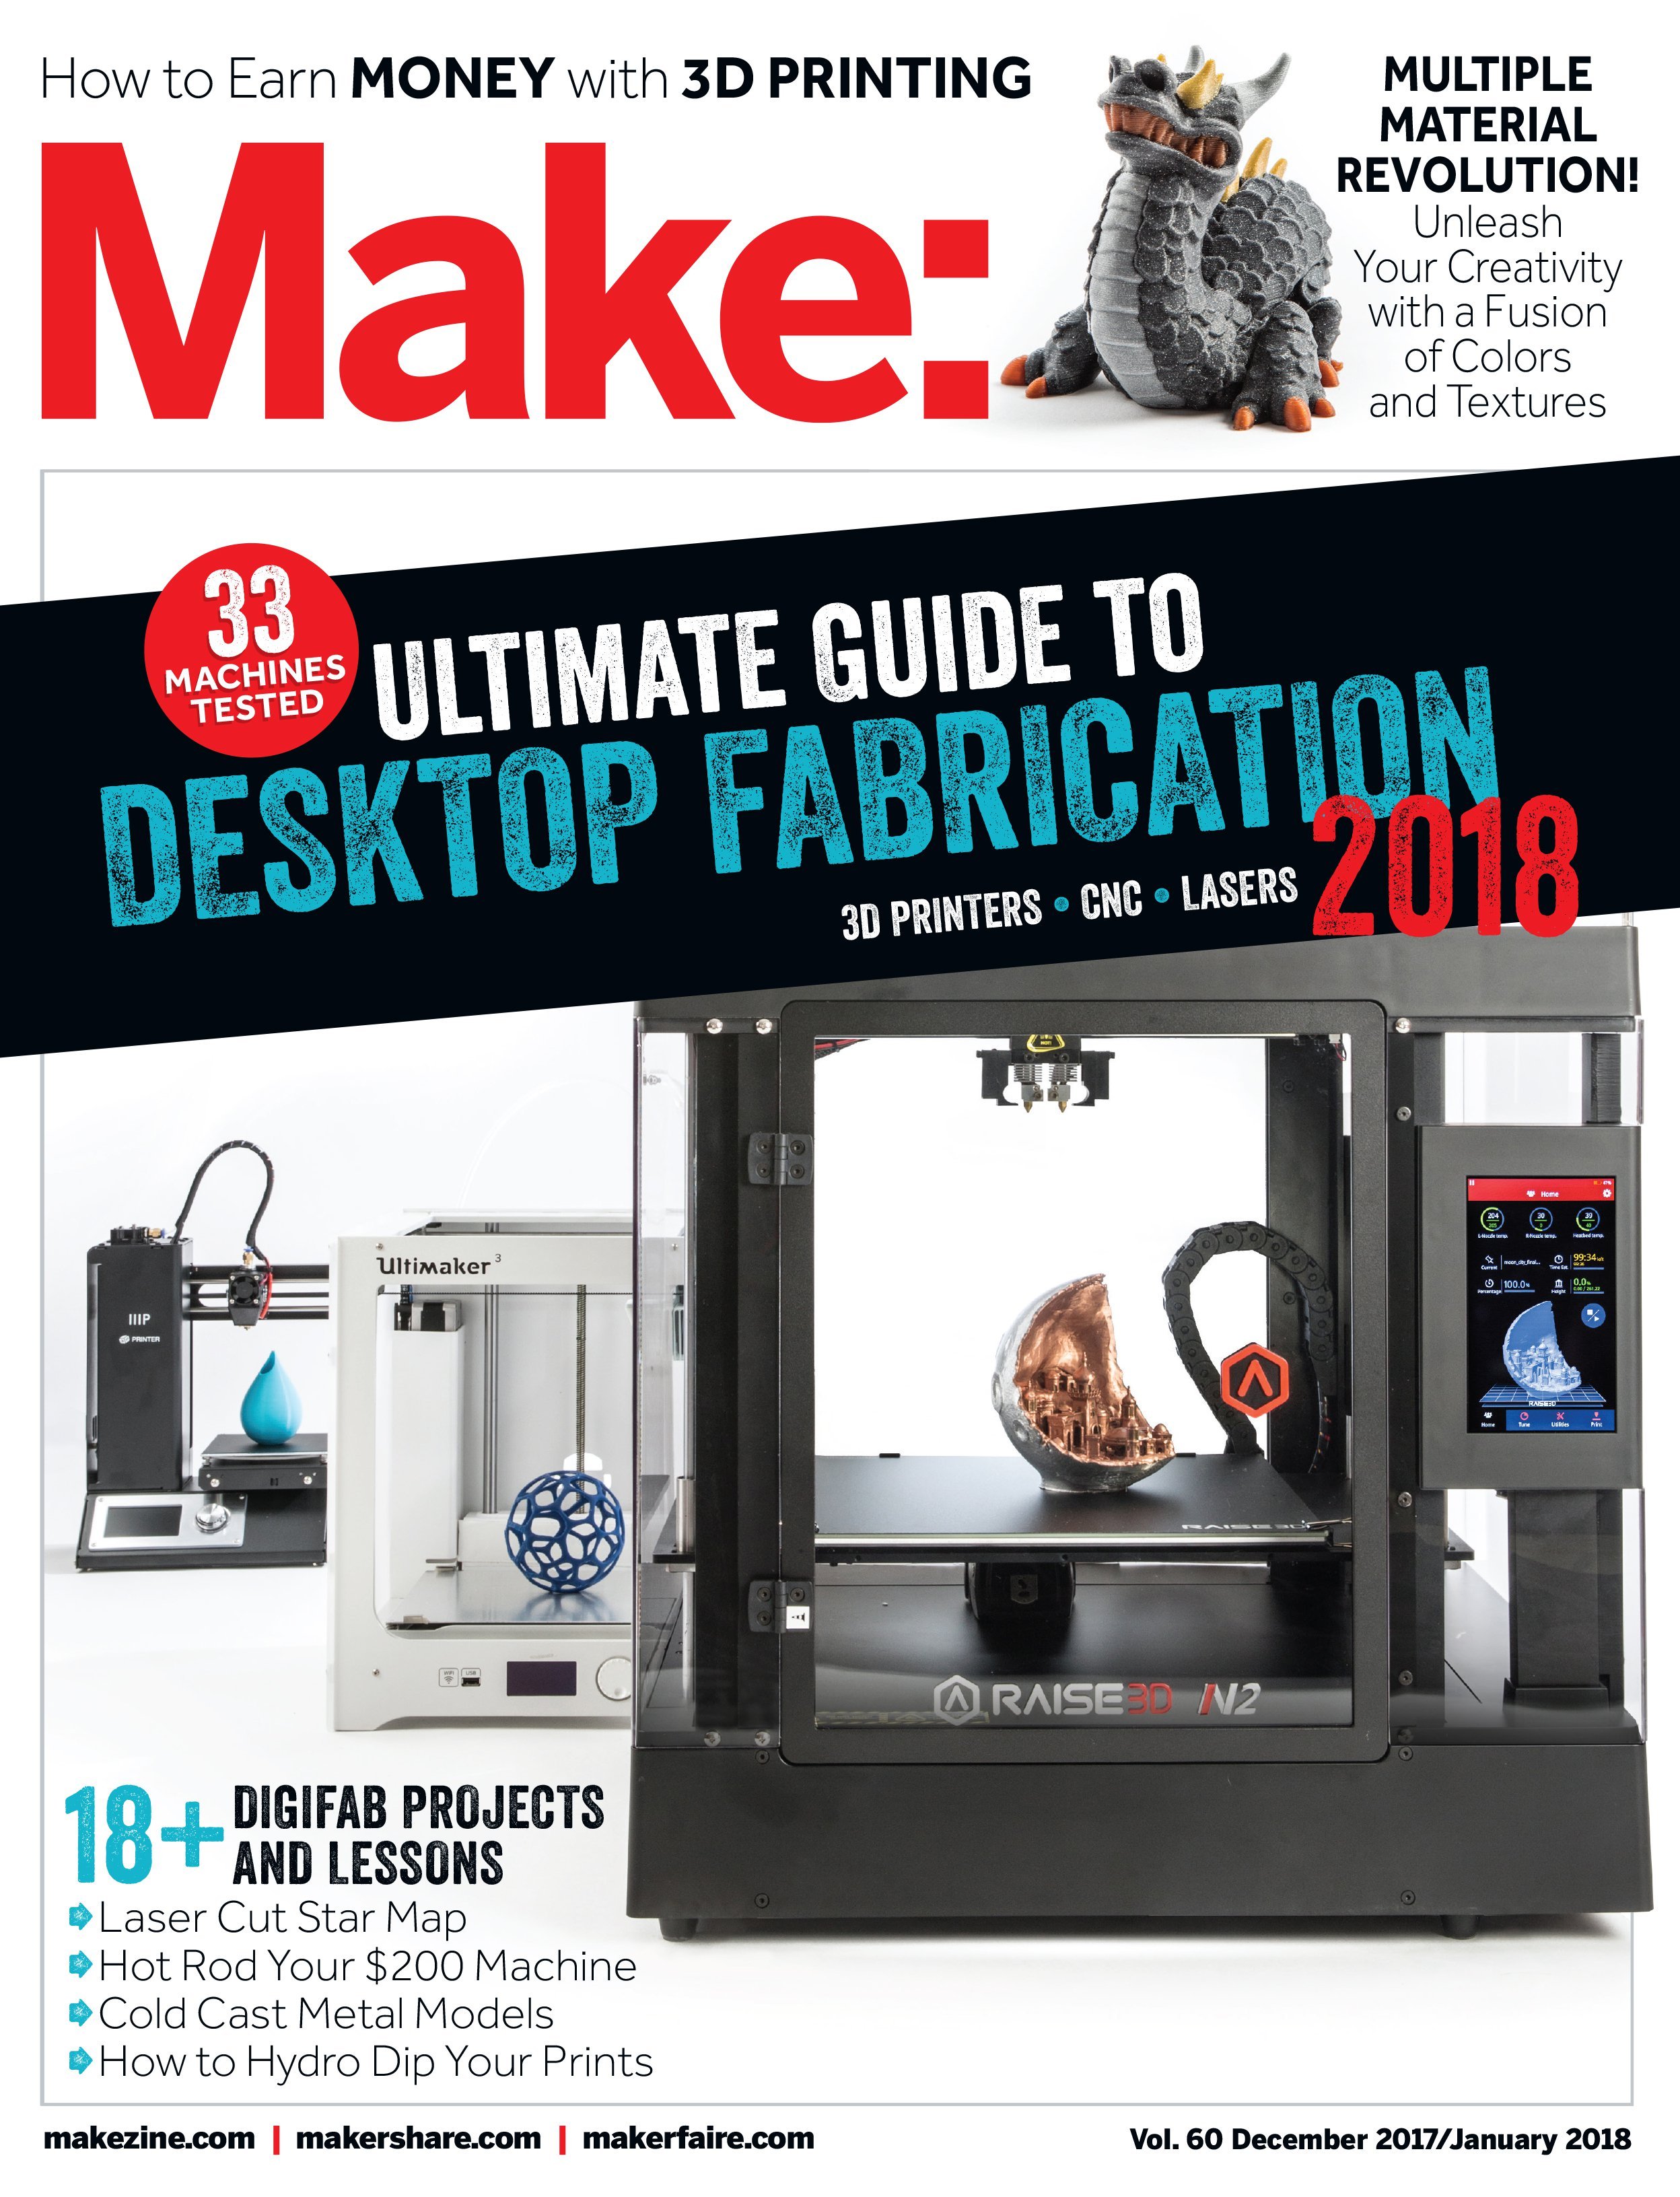
The results are in for our 6th annual Desktop Digital Fabrication Shoot Out! Make: Volume 60 has more than 30 reviews that show off the latest and greatest FDM and resin 3D printers, CNC machines, laser cutters, and vinyl cutters, including new machines from Ultimaker, Prusa, Lulzbot, ShopBot, and Glowforge. Also, learn about our revamped 3D printer scoring system!
On The Cover: Dragon: MakerBot, remixed for multicolor by Mosaic, Droplet Vase: Vcrettenand Zortrax Voronoi Sphere: ZRAFT, Moon City design: Jukka Seppänen
Cosplay, pizza ovens, and sourcing supplies.Page 06
Backyard builds from around the globe.Page 08
Building a big CNC router together can give long-lasting rewards.Page 16
Practical prints for when you’re tired of Yoda busts. Page 20
Inspiring kids through maker businesses.Page 22
Professional 3D printers make serious parts. Page 24
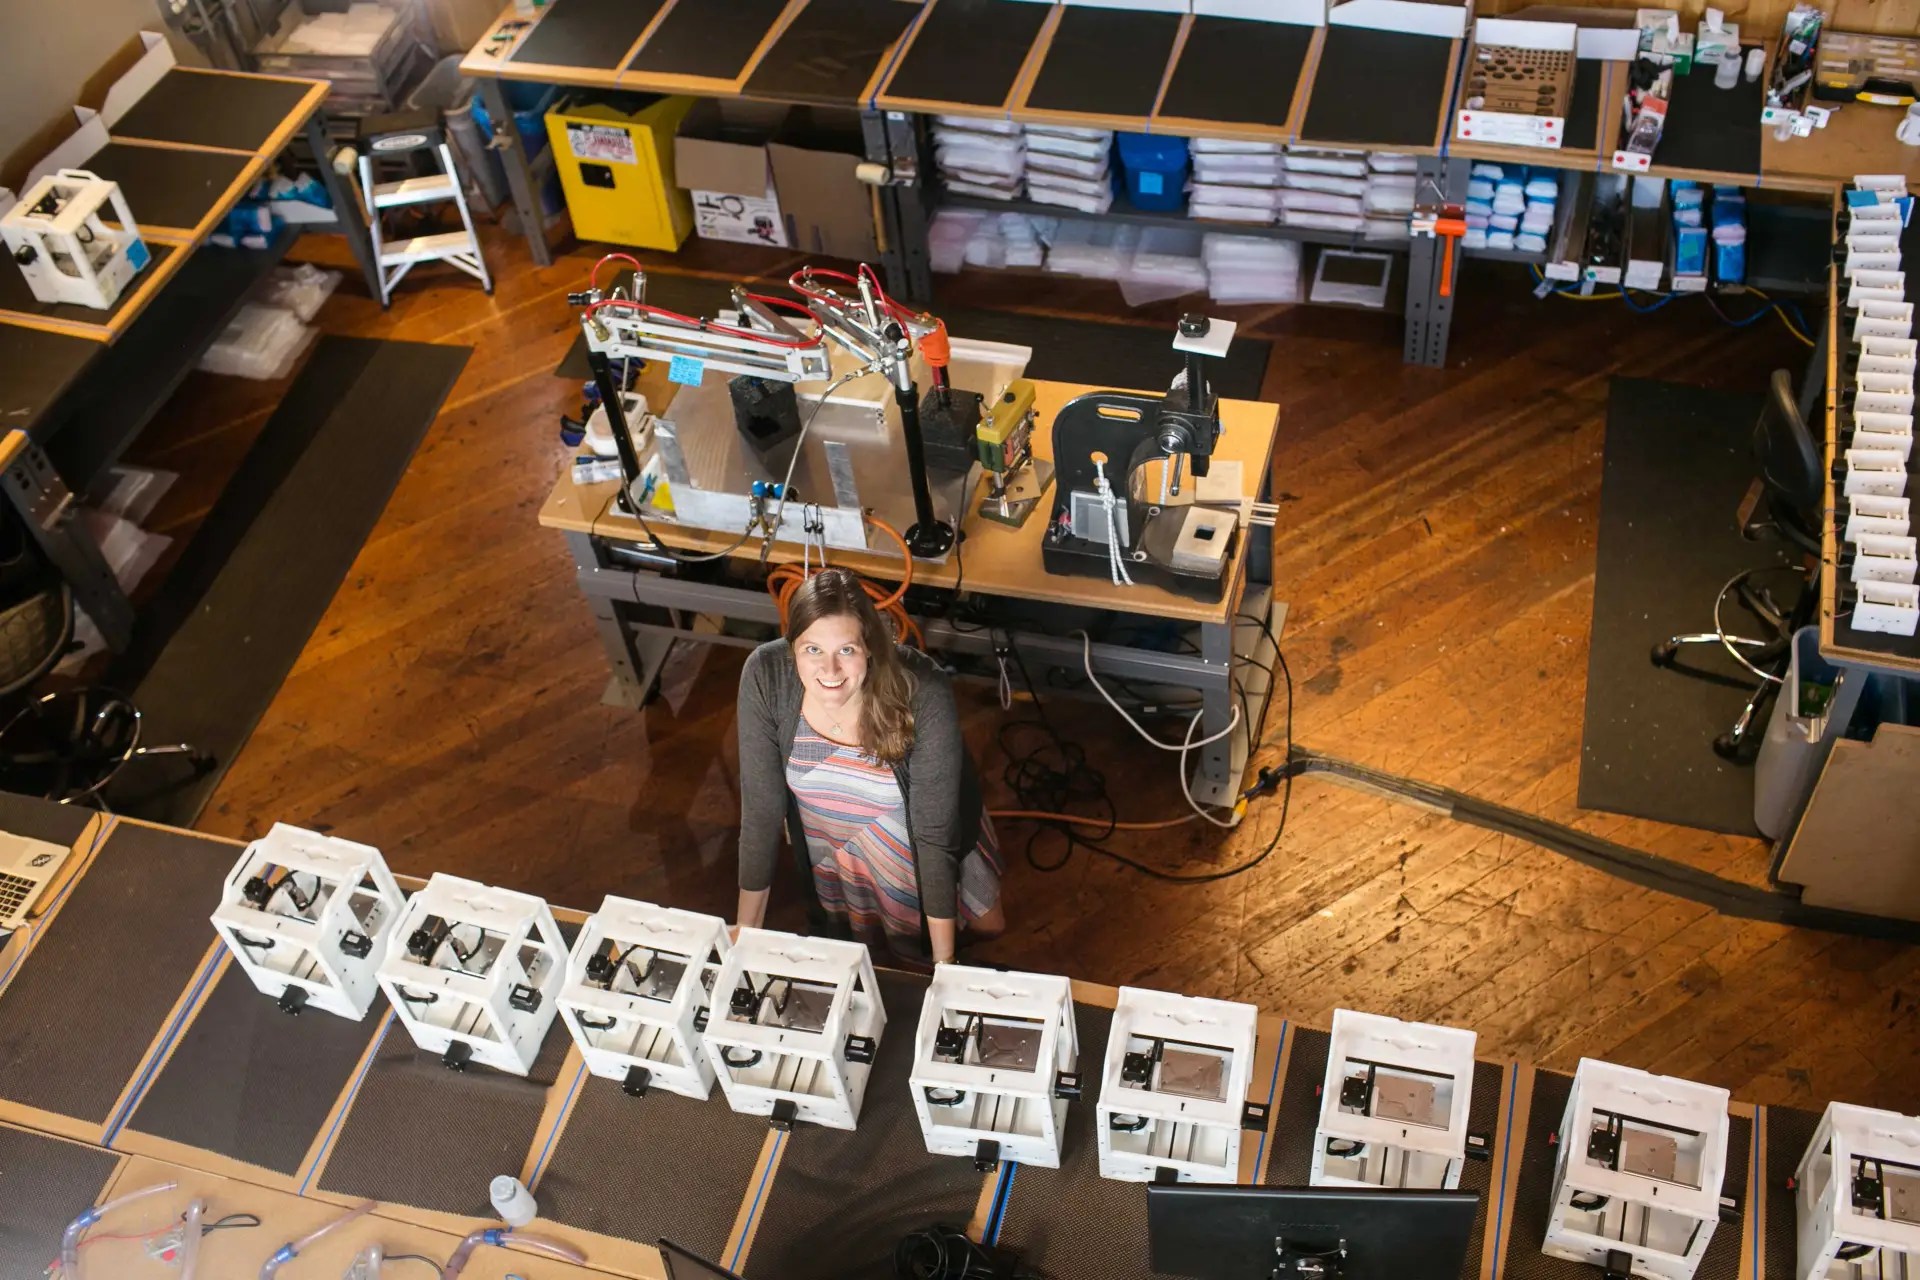
Danielle Applestone talks acquisition and rebranding Other Machine Co. Page 26
How we evaluated this year’s crop of machines.Page 28
RAISE3D N2, PRUSA i3 MK2S, PRUSA i3 MK2/S MM, PRUSA i3 MK3, PRINTRBOT SIMPLE PRO, FELIX 3.1, HACKER H2, ULTIMAKER 3, FELIX PRO 2, CRAFTBOT XL, MAKERGEAR M3, DREMEL 3D45, MONOPRICE SELECT MINI V2, TAZ 6, ZORTRAX M300, LULZBOT MINI, PRINTRBOT SMALLS, VERTEX NANO, and MAKEIT PRO-L Page 32
XFAB, DUPLICATOR 7, and MOA.Page 46
BENCHTOP PRO, ASTEROID, MILL ONE KIT V2, HANDIBOT 2, and HIGH-Z S400T.Page 48
GLOWFORGE BASIC and MUSE.Page 52
STEPCRAFT 2/840 Page 53
TITAN 2, CURIO, and SCANNCUT2 CM350.Page 54
These innovative machines show great promise.Page 56
Compare machines specs in a few simple charts.Page 58
Combining multiple materials brings a new dimension to 3D printing.Page 62
Use custom hot ends with specialty filaments.Page 64
Print models with hair.Page 66
Weld parts and more with a 3D printing pen.Page 67
5 key elements to keep in mind for laser cut designs.Page 68
Why you should buy a laser cutter before a 3D printer.Page 70
Pump up your budget laser with these tips and add-ons. Page 71
Liquid printing offers many unique applications.Page 72
Take your dirt-cheap device from ho-hum to hot rod.Page 74
Give your old machine new life with one of these upgrades. Page 75
Cut and light a model of the sky from your special night.Page 76
Hydro dipping makes your print pop with graphics. Page 79

Rebooting an heirloom.Page 80
Create cool images with this 3D printed, hand-cranked device.Page 83
3D print a handy display.Page 84

Use stencils and Window Wax for easy festive décor.Page 85
Prototyping adventures in CNC routing, SLA, FFF printing, and laser cutting.Page 86
Apply digital joinery for better parts assembly.Page 90
Make authentic looking metallic figures.Page 92
Check out the standouts from our “Worst Cup Ever” challenge.Page 96


