

Make: Volume 13 – Magic
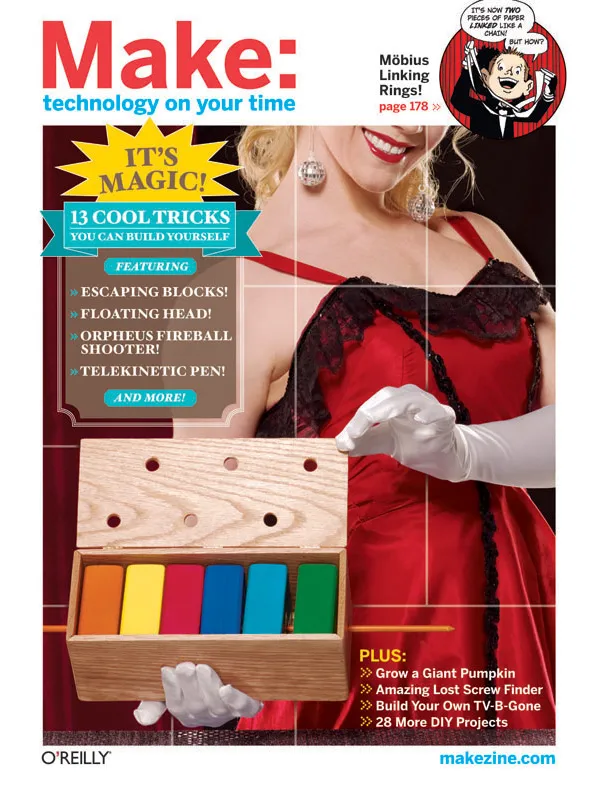

Abracadabra! In this issue of MAKE, you’ll perplex your pals and confound your colleagues with wooden blocks that seemingly pass through solid objects, balls that float, pens that dance at your command, and more.
You’ll also learn how to grow a half-ton pumpkin, make an irresistible fishing lure for 3 1/4 cents, build an air-powered “boom stick,” and fashion a baseball cap that can wirelessly turn off obnoxious TV sets. All this and more in MAKE Volume 13.


