


Most of us have experienced power outages. While brief interruptions are unpleasant, lengthy outages that can occur after severe weather, forest fires, and earthquakes can cause loss of food stored in refrigerators and freezers unless a backup generator is available.

While water outages are less common than power outages, drinkable water becomes much more important than food after a few days. That’s because a healthy person can survive for a week or more without food but only a few days without water.
The Red Cross and the Federal Emergency Management Agency (FEMA) both recommend that households store at least a three-day supply of drinking water, one gallon per person per day. While that’s not enough for bathing or flushing, a gallon is enough for drinking, limited food preparation, and teeth brushing.
Storing drinking water for emergency use requires food-quality containers. These can be purchased — 5-gallon water jugs are common — or drink containers can be cleaned and reused, such as 2-liter soda bottles. Don’t use milk or juice jugs; they can harbor bacteria.
While people can store water in their bathtubs when an emergency occurs, it may not be safe to drink. A good alternative is to purchase a bathtub water bag that fits in a tub and can be easily filled. When sealed, the water in the bag will be drinkable. A WaterBOB bathtub bag will hold up to 100 gallons, which is enough for a family of five for up to 20 days.
If your residence has space, you might want to consider storing drinking water in one or more food-quality 55-gallon (208 liter) barrels. These barrels measure about 35″ (88.9cm) high and 23″ (58.4cm) in diameter. They weigh around 22lbs (10kg) when empty.
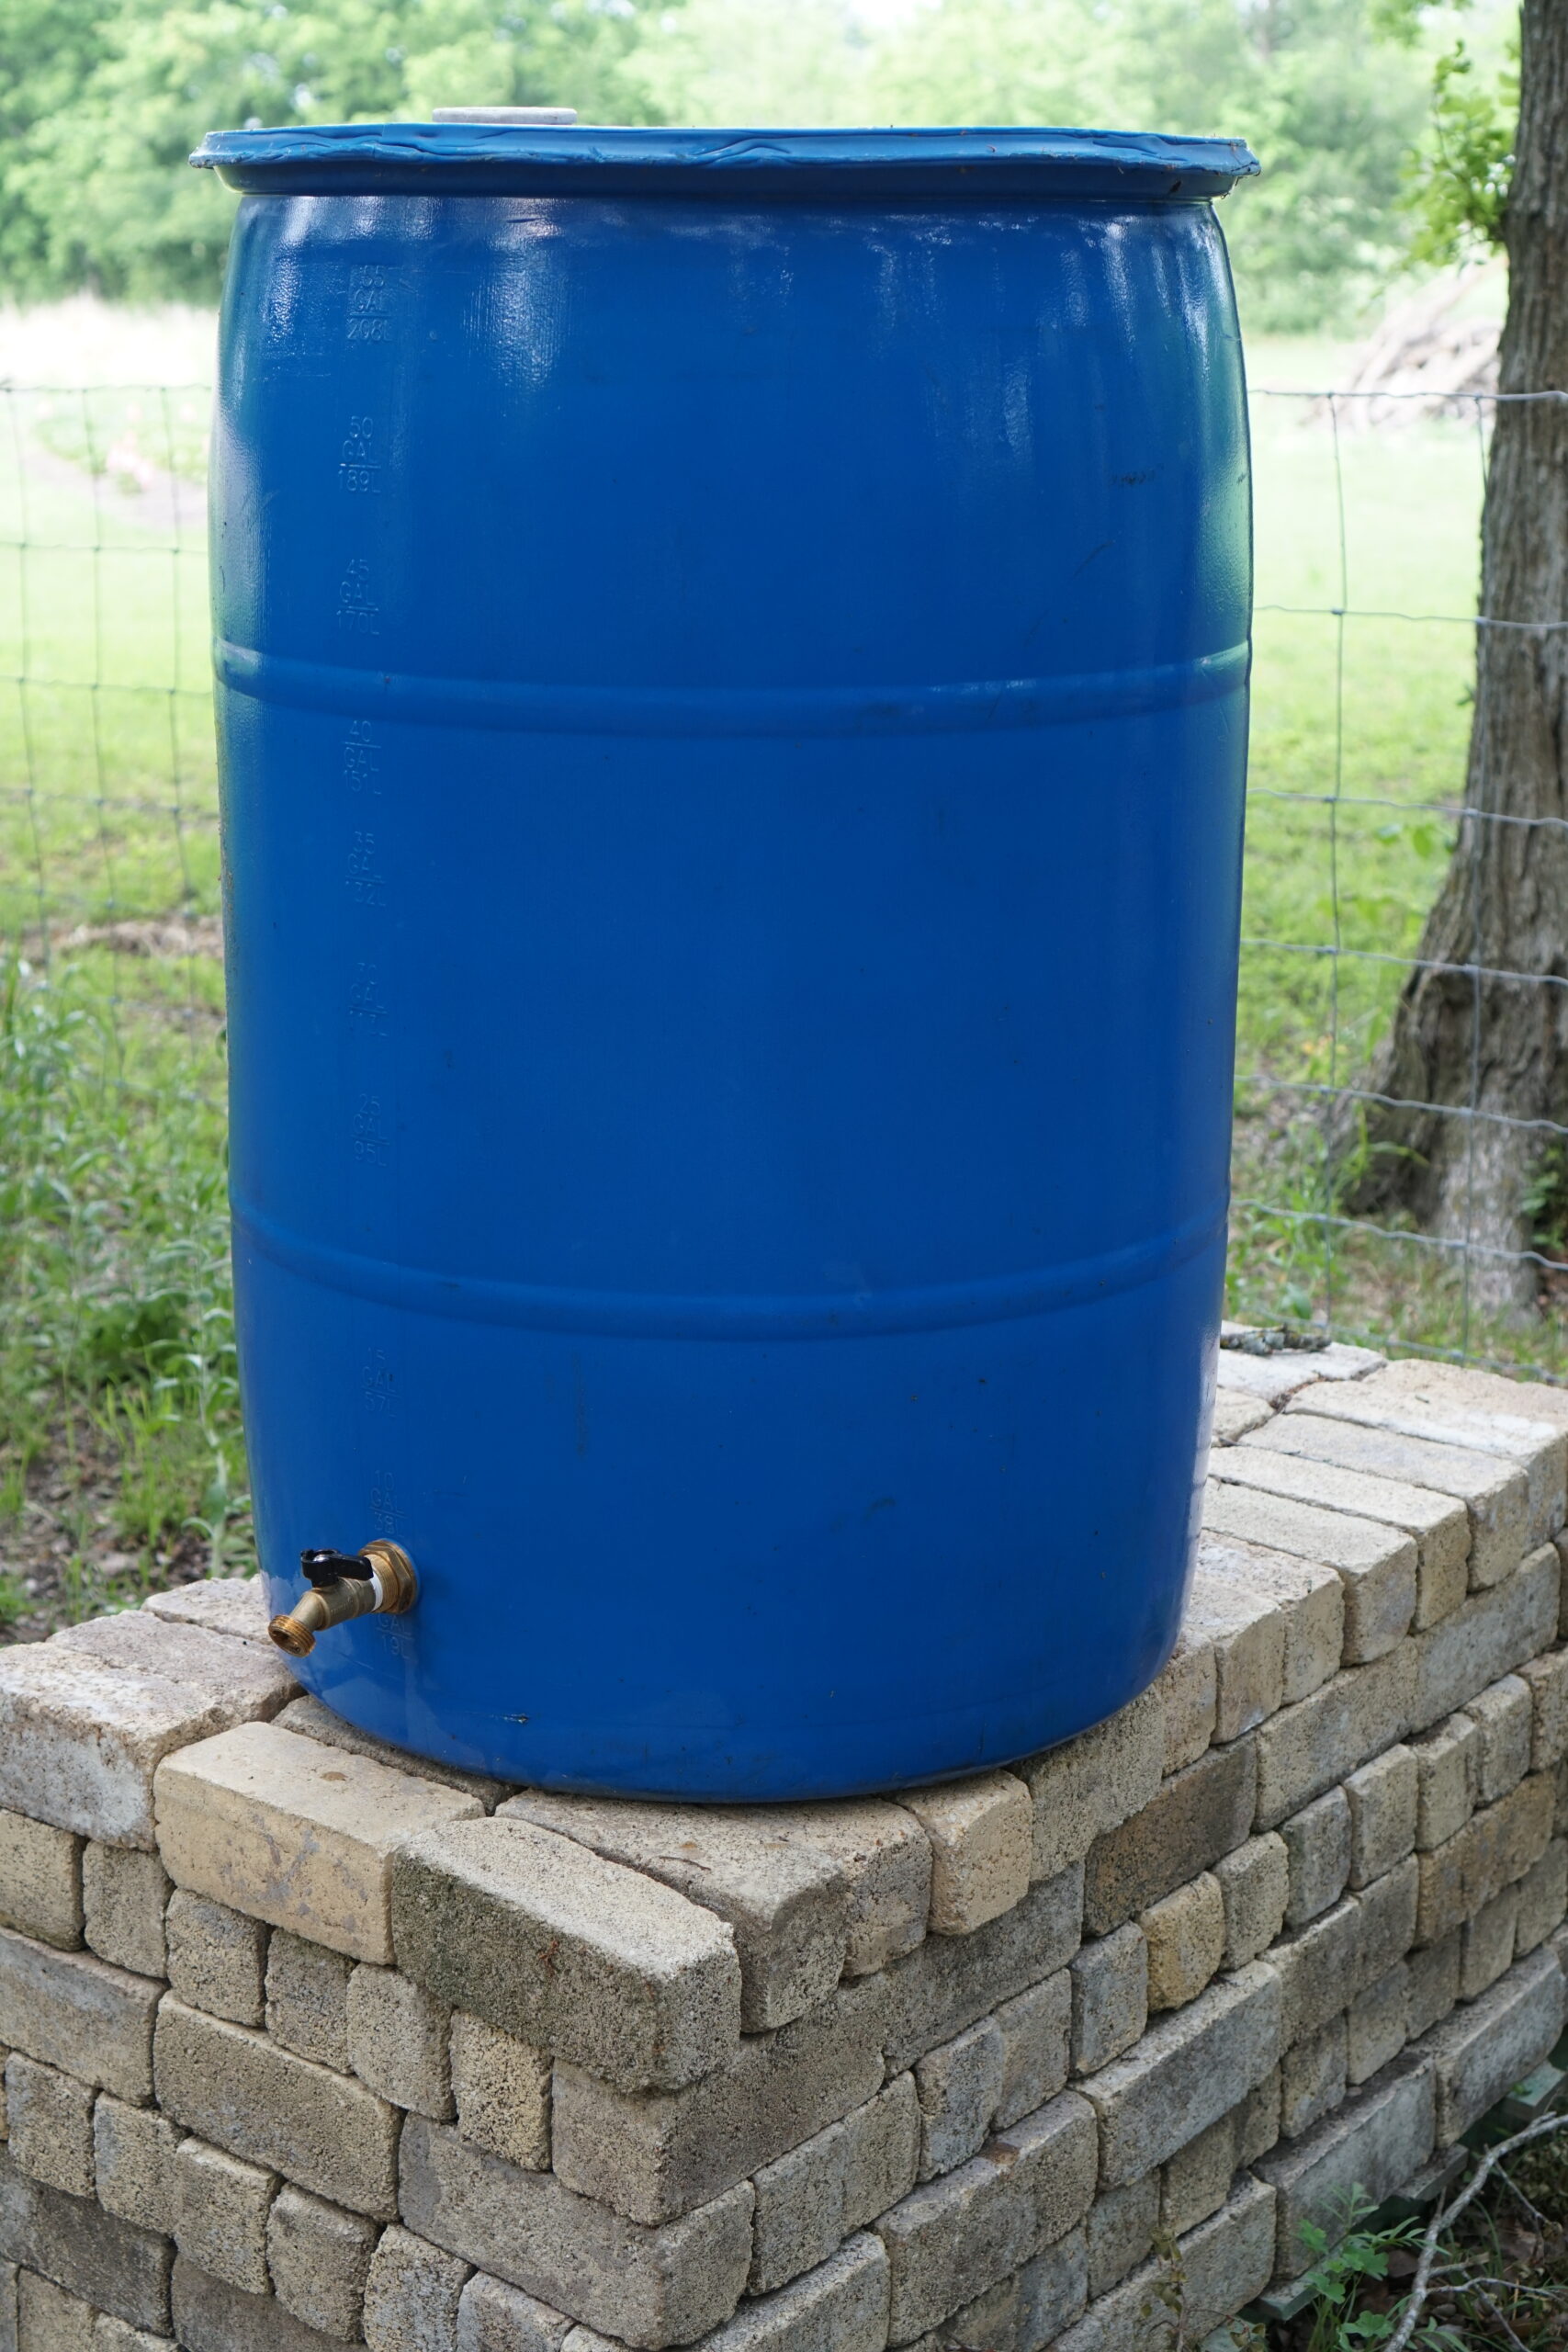
The feature image above shows a non-food quality 55gal barrel I plan to use to drip irrigate my garden. Note the spigot I installed near the bottom. For drinking water, I recently bought two new food quality barrels from a friend for $60 each. One of the least expensive online sources, BayTec, charges about $70.
If you’d like to store drinking water in a barrel, be sure you have an appropriate place to store and access it. A 55gal barrel will hold 460–470lbs (209–213kg) of water, so select a location that can support that much weight! Also, be sure a clean water outlet is accessible for filling the barrel.
You will need to determine how to remove water from the barrel when it’s needed. Simple siphon pumps are available, or you can install a spigot near the bottom of the barrel (see Step 3 below to decide where to install it).
Drinking water barrels have sealed lids with two 3″ (7.6cm) access ports (bung holes). Two kinds of spigots are available for these barrels. One has a nut that must be installed inside the barrel. The other is installed by dropping a bulkhead fitting into the barrel through an open bung hole; the rest is installed outside. The second kind seemed more leak proof, so I selected a Rainpal RBS022 rain barrel spigot.
FILLING THE BARREL WITH DRINKING WATER
Runoff rainwater from your roof might be fine for watering a garden, but it should not be used for drinking water. Instead, fill the barrel by pouring water from a pitcher filled with municipal water that’s been treated with chlorine. A much faster way is to use a recreational vehicle hose designed for use with drinkable water. Connect the hose to a nearby tap, and the barrel will be full in a few minutes. If you plan to use the water only during an emergency, it might be best to fill the barrel completely to keep out any algae that might be suspended in the air. While the rated capacity of the barrel is 55gal, mine holds nearly 60gal.
After the barrel is full, replace and tighten the bung cap. Dry the hose and attach protection covers to both ends to keep it safe for future use. Coil the hose and store it on top of the barrel.
If you want to store drinking water from a well or other non-municipal source, it’s necessary to sterilize it. The Red Cross and FEMA recommend “adding two drops of non-scented liquid household chlorine bleach to each gallon of water” (makezine.com/go/red-cross-water). This resource also has good suggestions about water storage containers and emergency food storage. Much more information is available online.
 ). Be sure the barrel is pushed against a wall or corner when drilling. Wear eye protection, hold the drill firmly with both hands, and push gently for best results. Carefully use a small knife to remove any remaining burr from the edge of the hole.
 shows a spigot kit made by Rainpal. Separate the spigot from its two brass fittings. Hold the large bulkhead fitting in one hand and remove the small fitting by rotating it clockwise.

 ). Retie the end of the cord and drop the fitting down the cord so that it slides straight to the spigot hole. Insert your index finger and pull the fitting through the hole (Figure E
 ).
).

 F). Install the spigot onto the fitting nut and hand-tighten it by rotating it clockwise. If the spigot output is pointed within a quarter of a turn from straight down, tighten it one-quarter turn with a wrench. Otherwise loosen and readjust the spigot until it is pointing within a quarter turn from straight down before tightening it (Figure G
 ).
).


